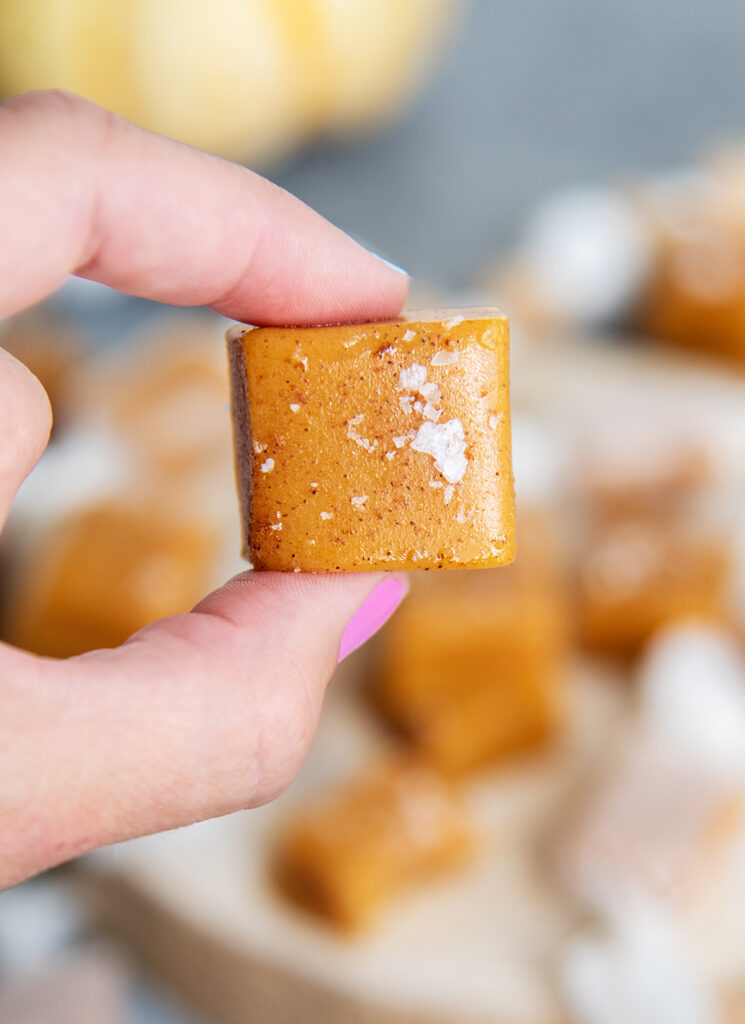
These Pumpkin Spice Caramels are soft, buttery, and filled with warm pumpkin spice flavor. It turns homemade caramels into a delicious treat to enjoy in the fall and winter! They have the best chewy, melt in your mouth texture, warm cozy flavors, and are the perfect addition to a Christmas candy tray!
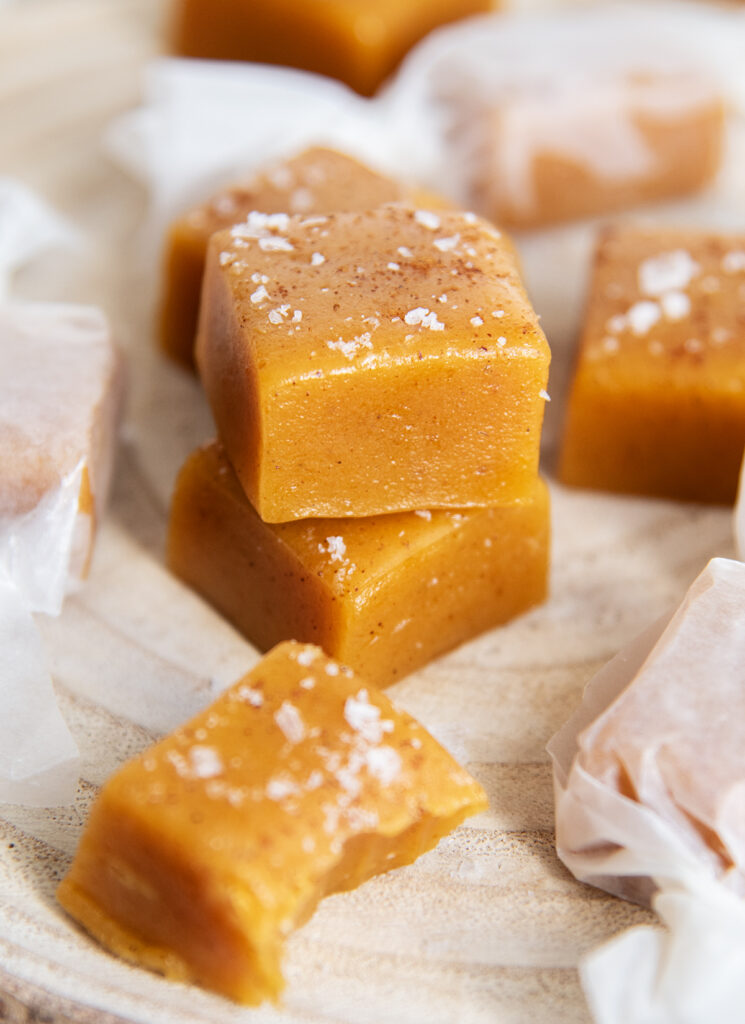
These caramels use real pumpkin puree, cinnamon, ginger, nutmeg and cloves to give the best pumpkin flavor. They pumpkin gives them a little orange color, and the spices bring in that familiar fall flavor!
Homemade caramels might seem intimidating, but they are absolutely worth making! All you need is a candy thermometer, a big pot, a little patience, and a little arm strength.. Maybe a few ingredients too.
You’ll have the best batch of soft and chewy caramels right in your own kitchen, and you’ll be so proud of yourself when you’re done! You should also try our Apple Cider Caramels or Eggnog Caramels, I can’t decide which of these three are my favorite!
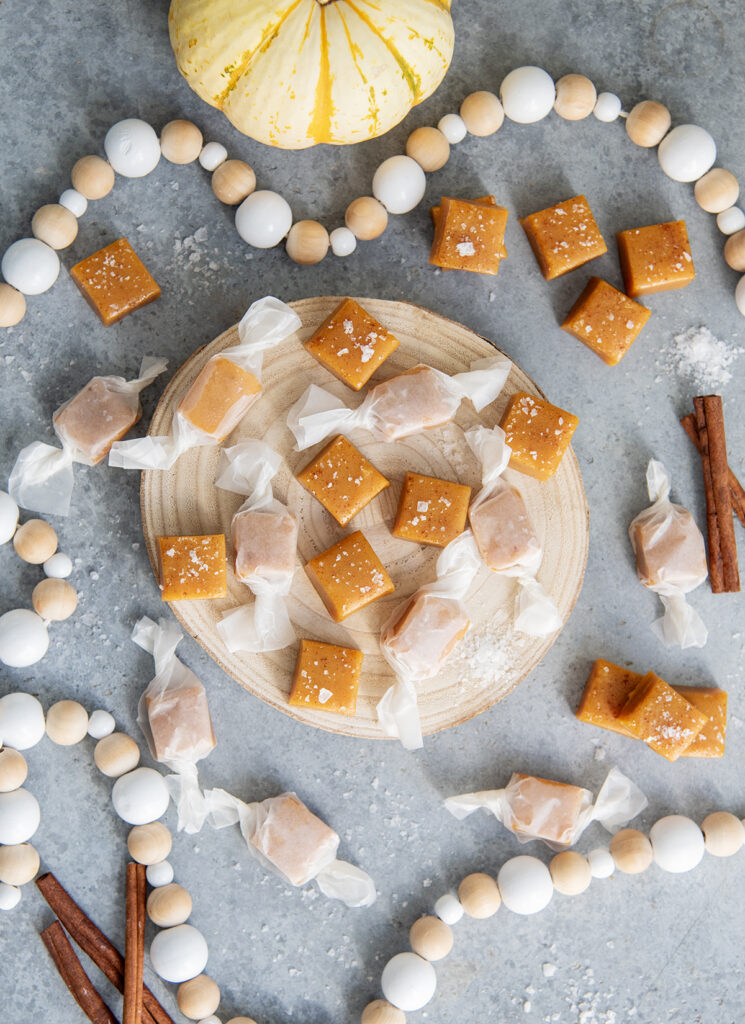
Why You’ll Love these Caramels
- Real Pumpkin Flavor: The caramels have real pumpkin puree cooked right into them to give them a light pumpkin flavor and a beautiful golden color! You’ll love them for fall, winter, or all year long!
- Soft and Chewy Texture: The caramels have the best chewy texture that melts right in your mouth!
- Great to Make Ahead: Caramels stay good when wrapped and stored at room temperature for up to 1 month. This means, they are perfect for making ahead, and helping you space out all your holiday candy making and baking!
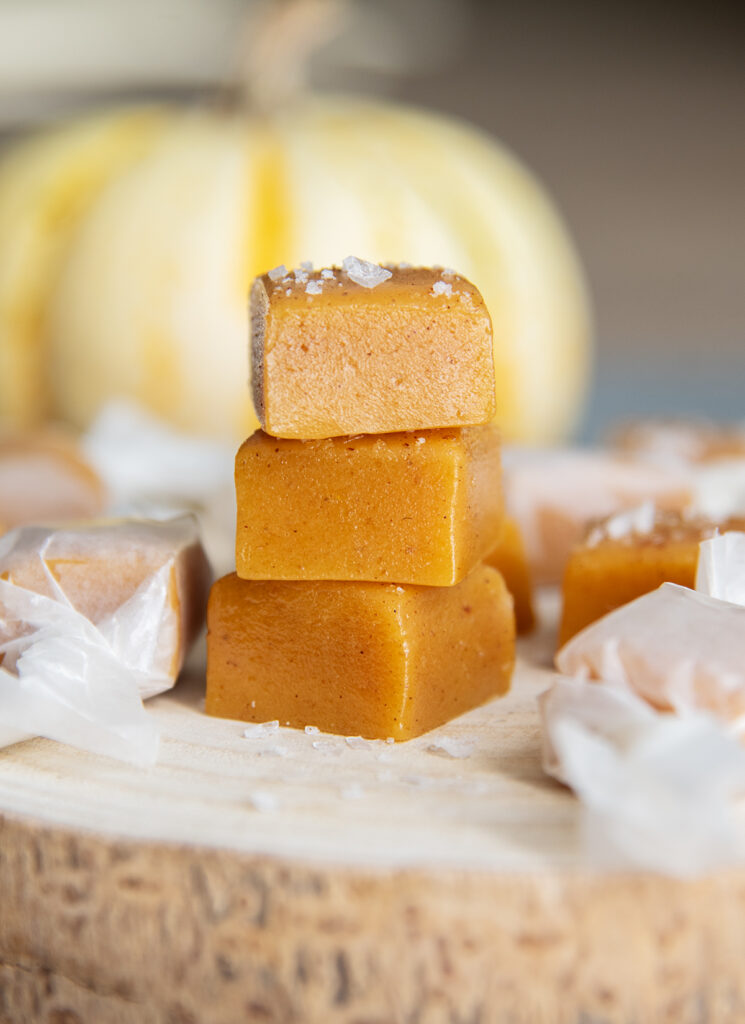
Ingredients Needed
This is a quick overview of some of the ingredients you’ll need for this Pumpkin Spice Caramel Recipe. The specific measurements and full recipe instructions are in the printable recipe card below.
- Pumpkin Puree: Do not use pumpkin pie filling, you’ll want the canned stuff that is 100% pure pumpkin.
- Light Corn Syrup: This helps keep your caramels extra smooth, and prevent them from being grainy or crystalizing
- Heavy cream: Use heavy whipping cream for the richest, smoothest caramel texture. You can substitute evaporated milk if needed, but not regular milk.
- Spices: We’re using a mix of cinnamon, cloves, nutmeg and ginger for the best warm and cozy flavors!
How to make Pumpkin Caramels?
Step 1: Cook the Caramel. Add the sugar, pumpkin puree, corn syrup, and butter to a large pot. Stir occasionally as the mixture comes to a boil. Once boiling, very slowly add the heavy cream a little bit at a time, so you don’t lower the temperature stirring constantly.
Step 2: Cook to the Firm Ball Stage. dd in a candy thermometer, and continue cooking the caramel, stirring constantly, until the caramel reaches about 245 to 250.
Step 3: Add the Spices. Stir in the vanilla, cinnamon, nutmeg, cloves, and ginger. Pour the mixture into a lined 8x8inch pan. Let the caramels set for a few hours until completely cooled.
Step 4: Cut and Wrap the Caramels. Using a sharp knife (you can run it under hot water then dry, or spray with nonstick spray occasionally to prevent it from sticking) cut the caramels into small pieces. Roll them up in cello wrap, or wax paper and store in an airtight container or enjoy.
Tips and Tricks
- Use a Candy Thermometer – This is a recipe that needs a candy thermometer! You need to ensure your caramel reaches the right temperature for the perfect texture!
- Firm Ball Stage – You want to cook your caramels to be soft and chewy, but firm enough to hold their shape. The temperature range is between 244 and 250 F.
- Altitude – Altitude can greatly affect temperatures for your candy making. The easiest way to test this is by boiling a pot of water on the stove, and checking the temperature of the boiling water. At sea level water typically boils around 212 F. If your water boils lower than that (for example, mine boils at about 204 F) then I will lower my desired candy temperature also by 8 degrees. For a general guide:
- Sea level: You’ll want to your caramel to hit between 242 – 245 °F
- 2000 ft: Between 238 – 241 °F
- 4000 ft: Between 234 – 237 °F
- 6000 ft: Between 230 – 233 °F
- Cutting Caramels – Use a sharp knife, or a stainless steel scraper to cut the caramels into straight lines. If your caramel is getting squished down when cutting it you can chill it in the fridge for about 15 minutes before cutting. It also helps to run the knife under warm water and spray it with nonstick spray.
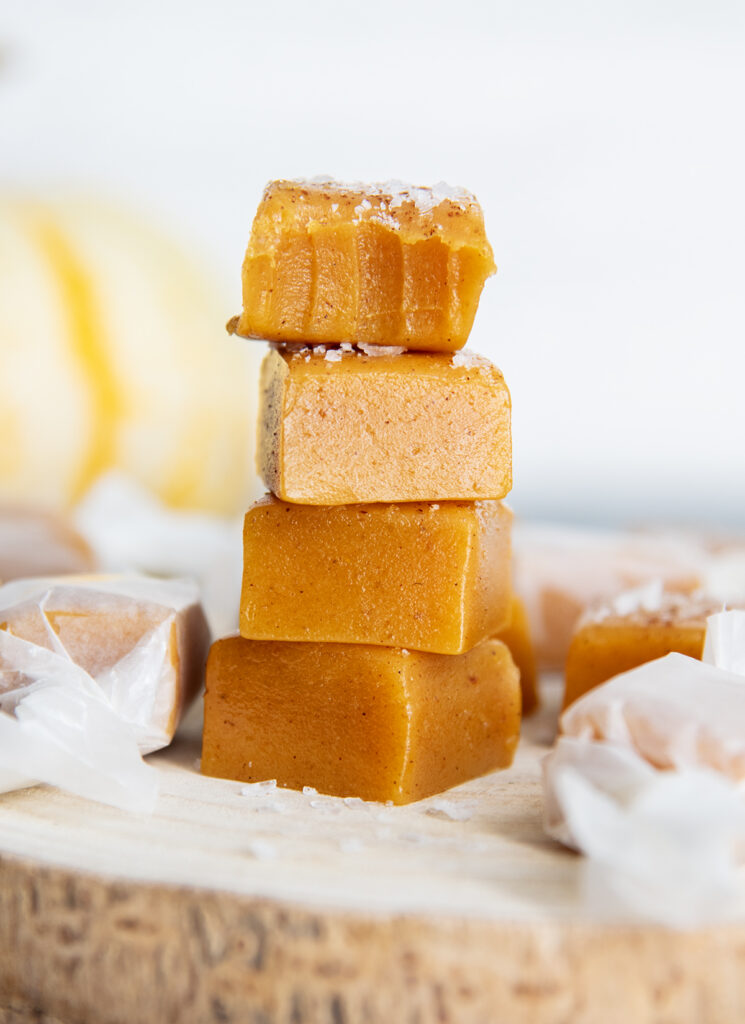
Storage Instructions
Store the wrapped caramels in an airtight container at room temperature for 3 to 4 weeks. You can also freeze the caramels for up to 3 months. Let them thaw at room temperature for a few hours before enjoying.
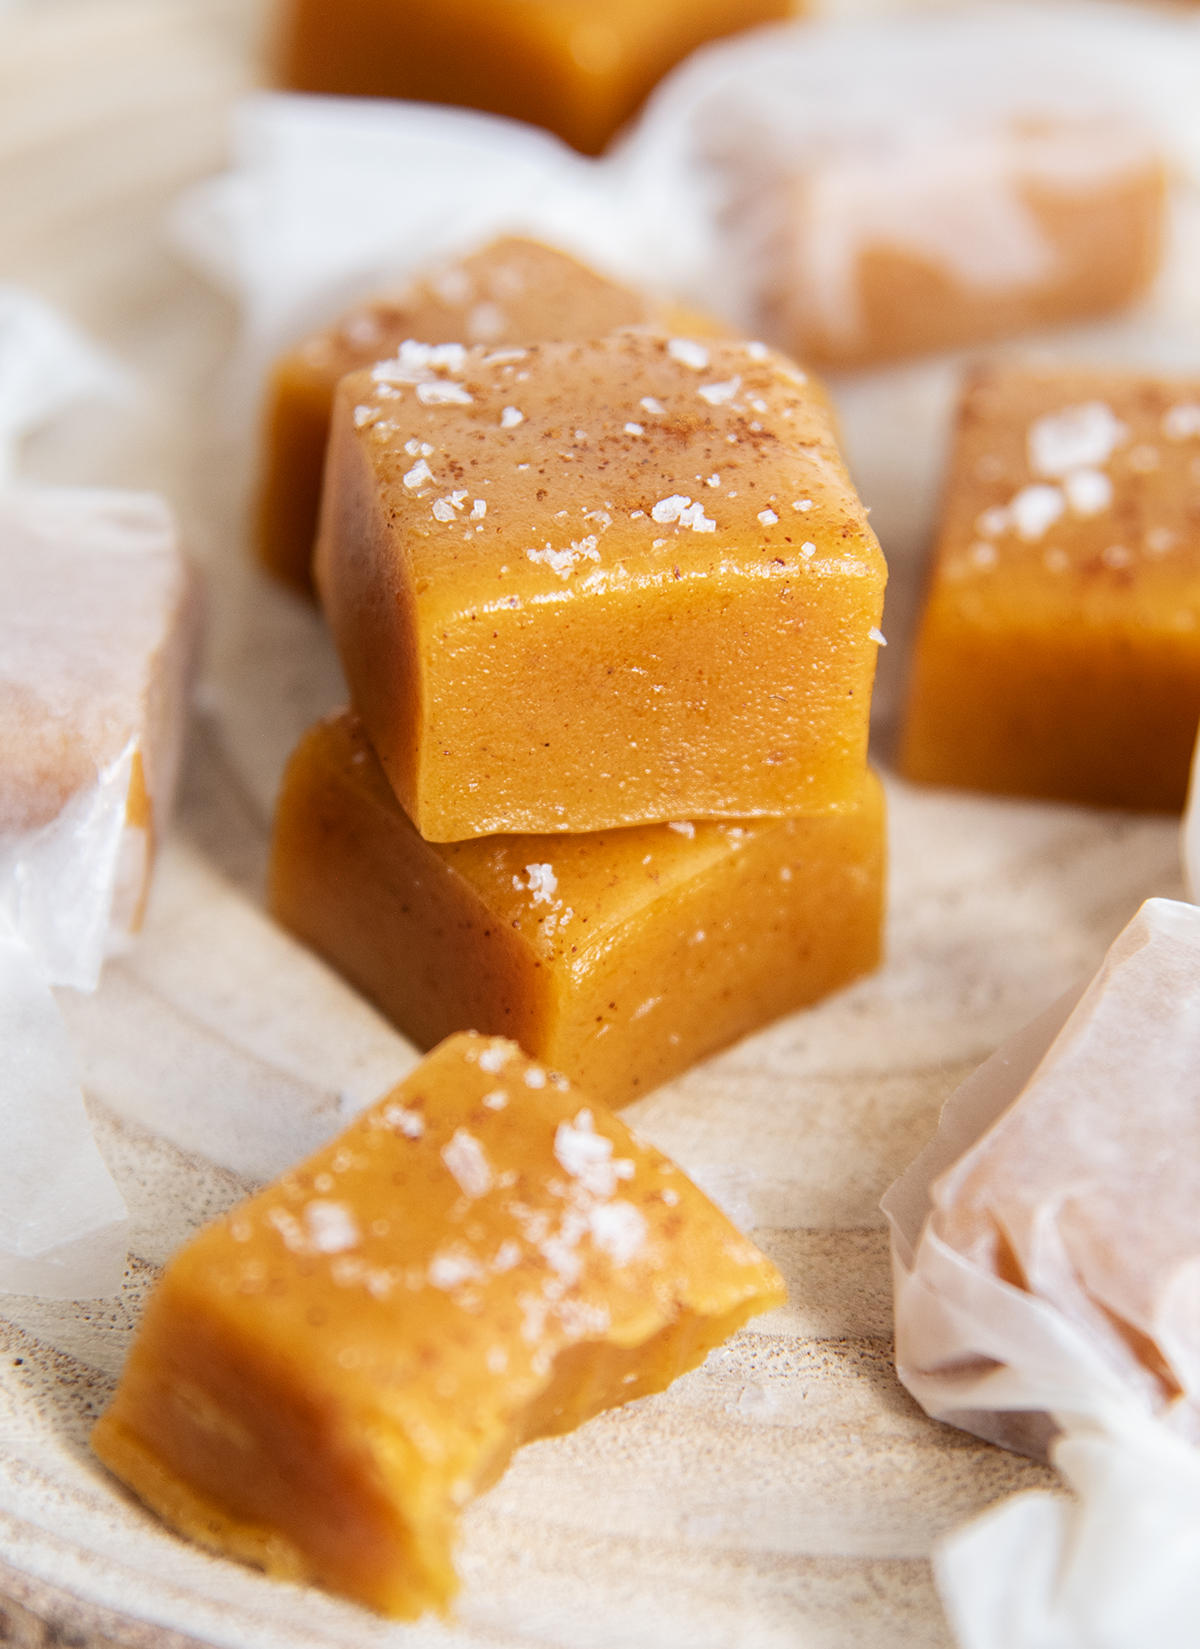
These Pumpkin Spice Caramels are such a yummy way to enjoy fall flavors in a homemade candy. The buttery caramel, real pumpkin flavor, soft and chewy texture, all makes them a homemade candy you’ll love adding in to the mix. They’re so fun for your Christmas cookie boxes, and will definitely impress all your friends and neighbors you share them with!
More Homemade Candy Recipes
- Penuche Fudge
- How to Make a Candy Train
- Peanut Butter Marshmallow Squares
- Gumdrop Nougat
- Key Lime Pie Fudge
- Chocolate Caramels
- Churro Cracker Toffee
If you try these Pumpkin Spice Caramels, please leave a 🌟 rating and let me know how it went in the comments below. I love hearing from you!
Pumpkin Spice Caramels
Ingredients
- 2 cups Granulated Sugar
- 1/2 cup Light Corn Syrup
- 1/2 cup Pumpkin Puree (100% Pure Pumpkin)
- 1/2 cup Unsalted Butter
- 12 oz Heavy Cream
- 1 tsp Vanilla Extract
- 1/2 tsp Ground Cinnamon
- 1/4 tsp Salt
- 1/8 tsp Ground Cloves
- 1/8 tsp Ground Nutmeg
- 1/8 tsp Ground Ginger
Instructions
- Line a 8×8 in pan with parchment paper, and light grease. Set it aside.
- Add the granulated sugar, corn syrup, pumpkin, and butter to a large pot over medium heat on the stove top. Stir occasionally as the mixture comes to a boil. 2 cups Granulated Sugar, 1/2 cup Pumpkin Puree, 1/2 cup Unsalted Butter, 1/2 cup Light Corn Syrup,
- Once boiling, very slowly add the heavy cream a little at a time, a couple TBS at a time, stirring constantly. It will take a few minutes to add, and you need to stir the whole time so the milk doesn't significantly lower the temperature of the mixture. 12 oz Heavy Cream
- Once all the cream has been added, put a candy thermometer in the pot (clipped to the side) and continue cooking, stirring constantly until the mixture comes between 245 and 250 Fahrenheit.
- Once the right temperature is reached, remove the caramel from the heat and stir in the vanilla, cinnamon, salt, cloves, nutmeg, and ginger. 1 tsp Vanilla Extract, 1/2 tsp Ground Cinnamon , 1/4 tsp Salt, 1/8 tsp Ground Cloves, 1/8 tsp Ground Nutmeg, 1/8 tsp Ground Ginger
- Pour the mixture into the prepared pan, and spread out the top as needed.
- Let the caramels cool for 30 minutes. Then sprinkle the top with flakey sea salt if desired.
- Let the caramels cool until totally set. Lift the caramels out of the pan, with the parchment paper and cut them into bite sized pieces, using a sharp knife.
Notes
- Use a Candy Thermometer – This is a recipe that needs a candy thermometer! You need to ensure your caramel reaches the right temperature for the perfect texture!
- Firm Ball Stage – You want to cook your caramels to be soft and chewy, but firm enough to hold their shape. The temperature range is between 244 and 250 F.
- Altitude – Altitude can greatly affect temperatures for your candy making. The easiest way to test this is by boiling a pot of water on the stove, and checking the temperature of the boiling water. At sea level water typically boils around 212 F. If your water boils lower than that (for example, mine boils at about 204 F) then I will lower my desired candy temperature also by 8 degrees. For a general guide:
- Sea level: You’ll want to your caramel to hit between 242 – 245 °F
- 2000 ft: Between 238 – 241 °F
- 4000 ft: Between 234 – 237 °F
- 6000 ft: Between 230 – 233 °F
- Cutting Caramels – Use a sharp knife, or a stainless steel scraper to cut the caramels into straight lines. If your caramel is getting squished down when cutting it you can chill it in the fridge for about 15 minutes before cutting. It also helps to run the knife under warm water and spray it with nonstick spray.

Leave a Reply