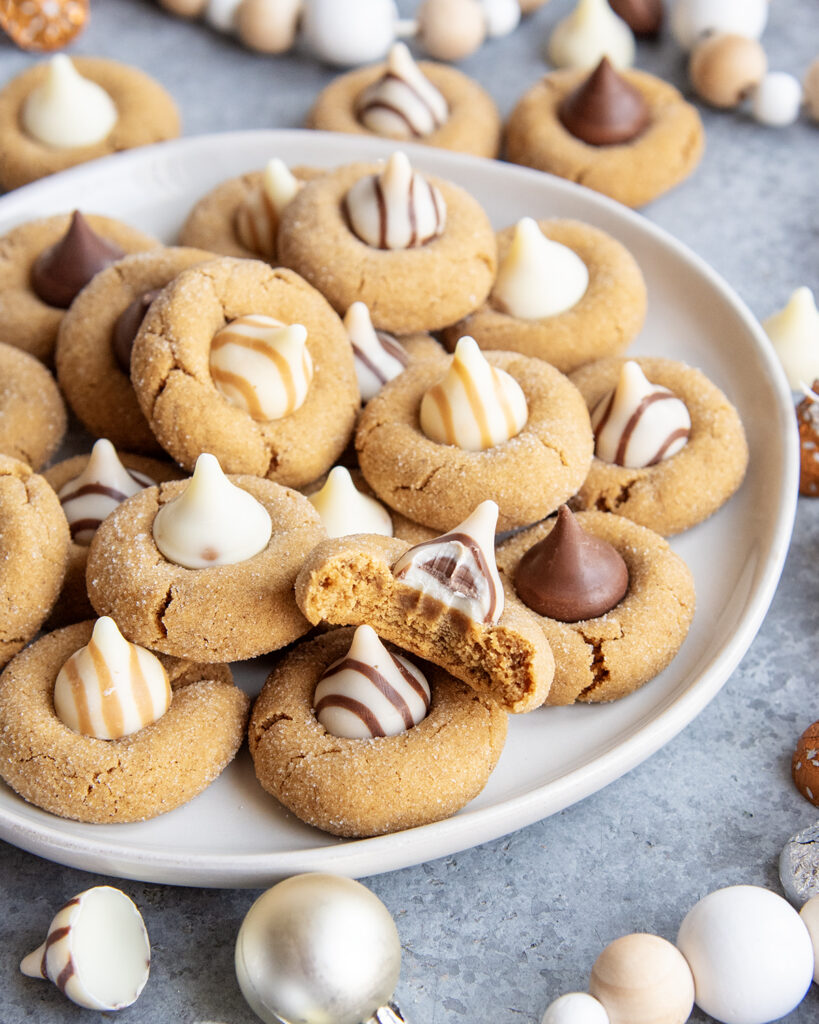
These Ginger Blossom Cookies are soft, chewy, and have the best warm spices in every bite! They cookies are baked up thick, with sugary crackles and a little kiss of chocolate on top. They taste like Christmas in every bite, and look so cute on a cookie tray!
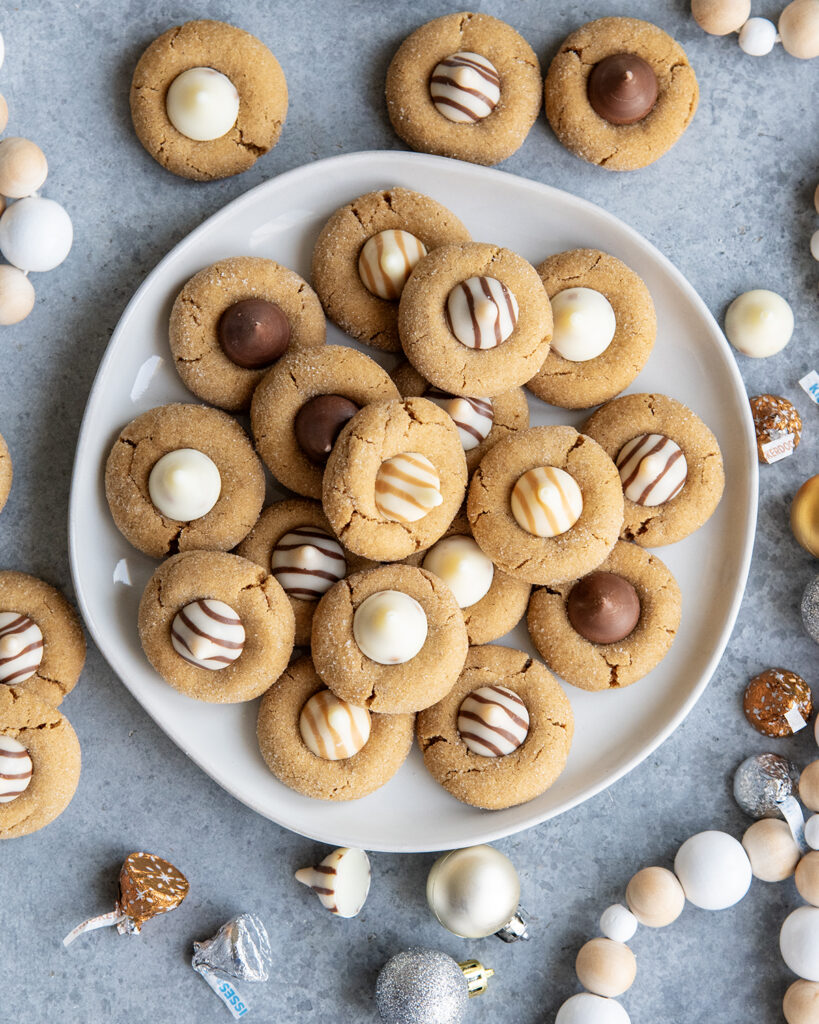
I altered these cookies from my favorite Ginger Molasses Cookies to make them bake up nice and thick. The dough is soft, and sturdy, and the chocolate adds the perfect classic blossom look on top.
You get the perfect balance of cozy gingerbread and smooth white chocolate in every bite. These are such a great holiday cookie, with no chilling, and basically no effort.
Why you’ll love these Cookies
- Quick and Easy: These cookies are so easy to make, with no chilling, you’ll have cookies in less than 30 minutes!
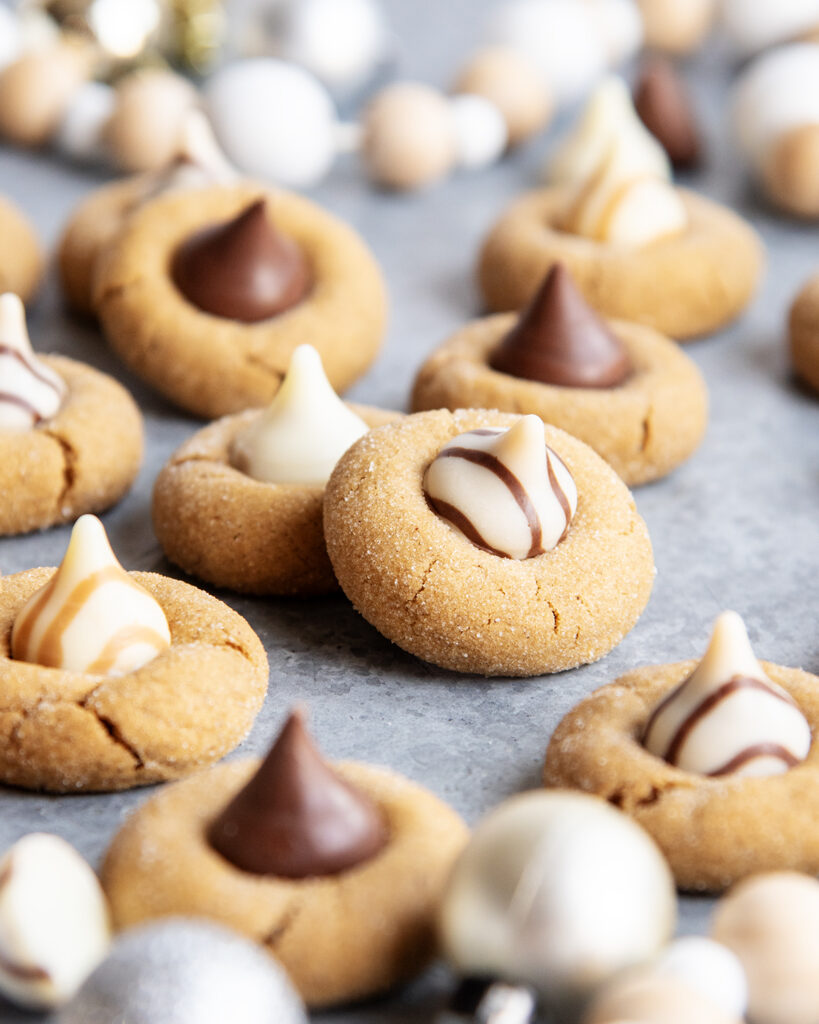
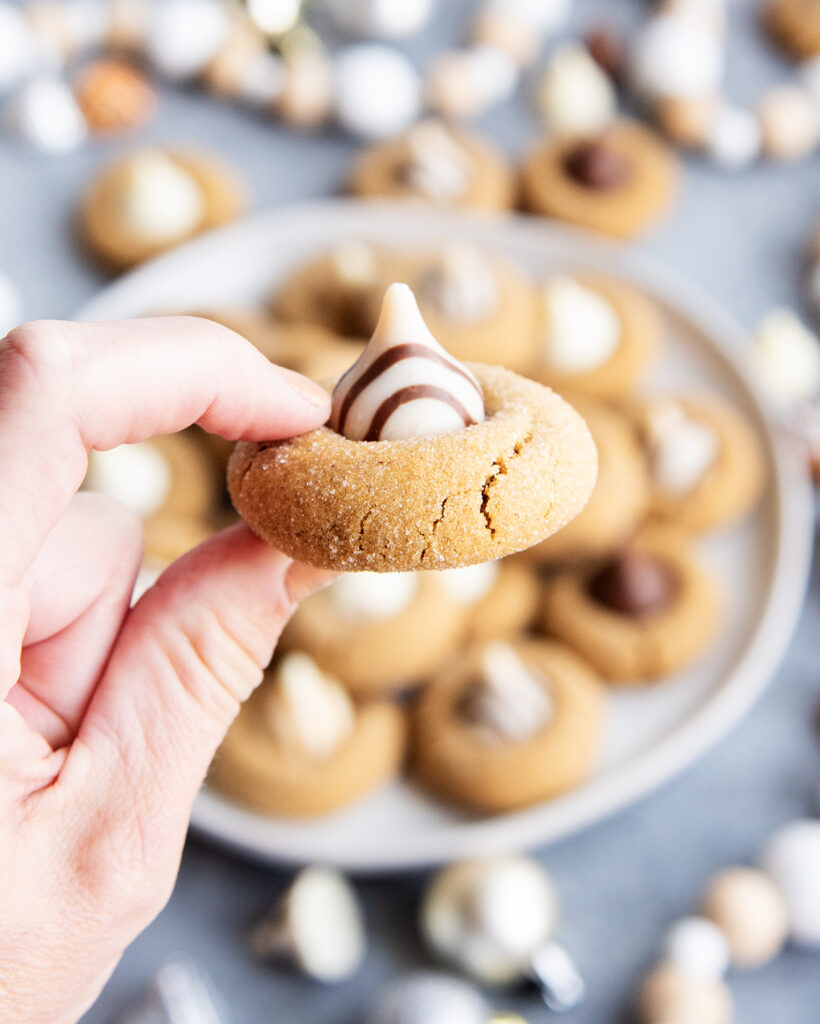
- Classic Blossom Style: A thick cookie that doesn’t spread too much when it bakes, gets the perfect chocolate kiss or hug on top!
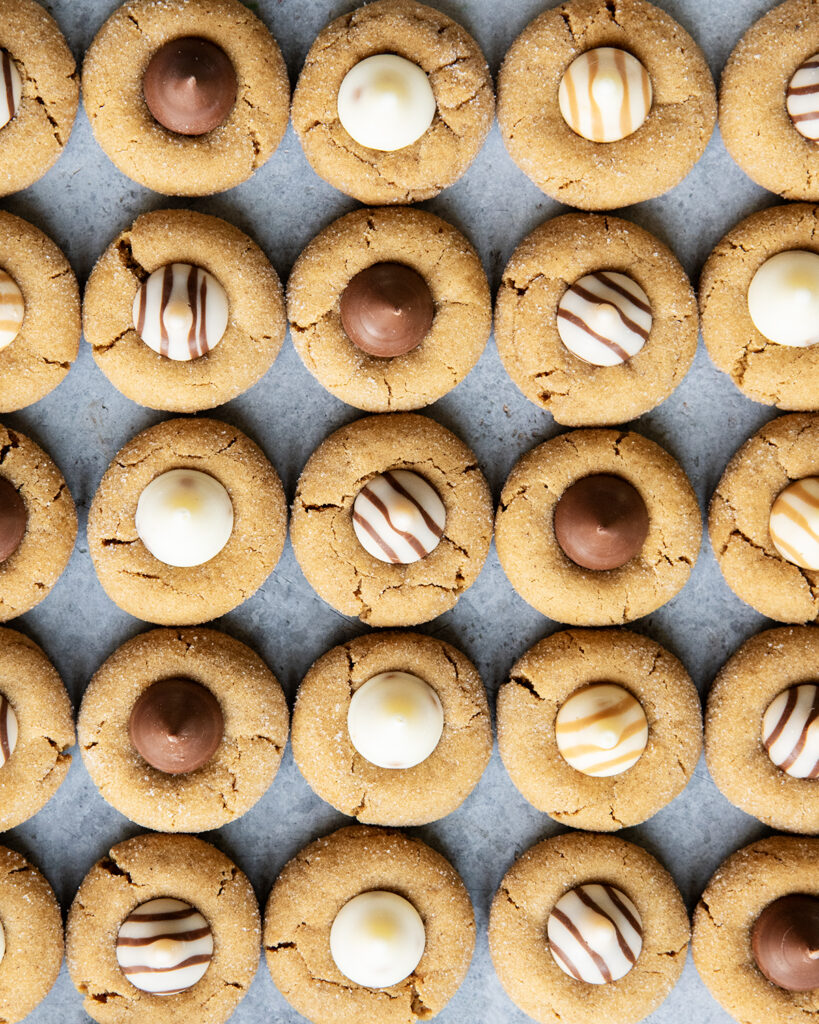
- Perfect for Gifting: These are great for cookie exchanges, parties, or packaging up to share with your neighbors.
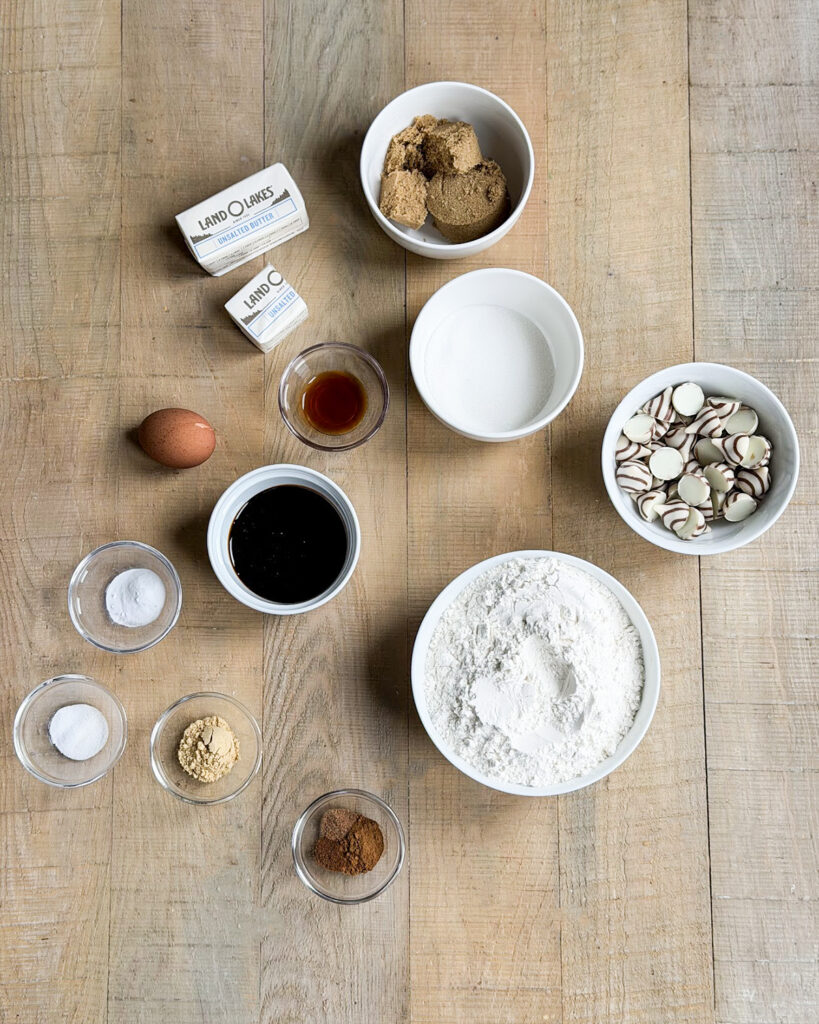
Ingredients Needed
This is a quick overview of some of the ingredients you’ll need for this Ginger Blossom Cookie Recipe. Specific measurements and full recipe instructions are in the printable recipe card below.
- Unsalted Butter:
- Brown Sugar and Granulated Sugar: I like a mix of both sugars, but you can just use all brown sugar in these too.
- Egg: Just one egg to help bind it all together
- Molasses: Use unsulphured molasses, I like Grandma’s Original Molasses.
- Baking Soda: Makes the cookies rise a little for their soft texture.
- Flour: We use all purpose flour for the base of these cookies
- Ginger: Gives a nice warm flavor, without too much of a bite
- Other Spices: You’ll also need cinnamon, cloves, and nutmeg to give the best warm flavor
- Hersheys Hugs or Kisses: I love the white chocolate of Hugs with these, but any flavor works!
How to make Ginger Blossom Cookies
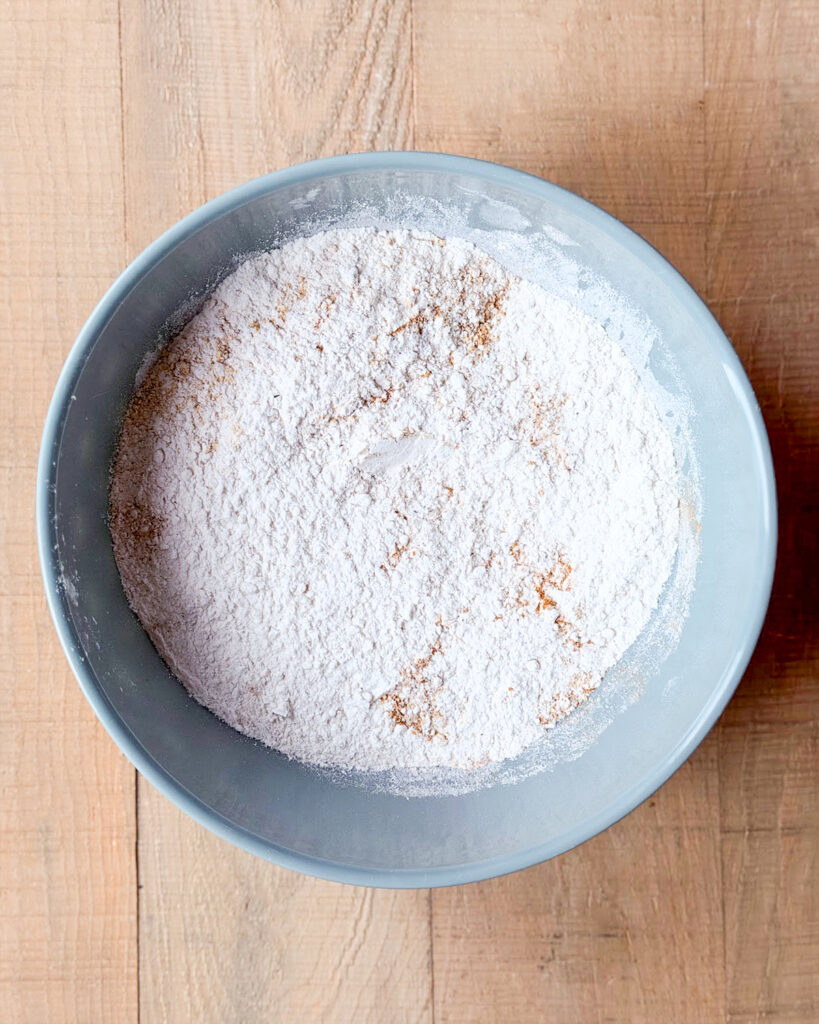
Step 1: Combine the Dry Ingredients. Whisk together the Flour, baking soda, ginger, cinnamon, salt, cloves, and nutmeg.
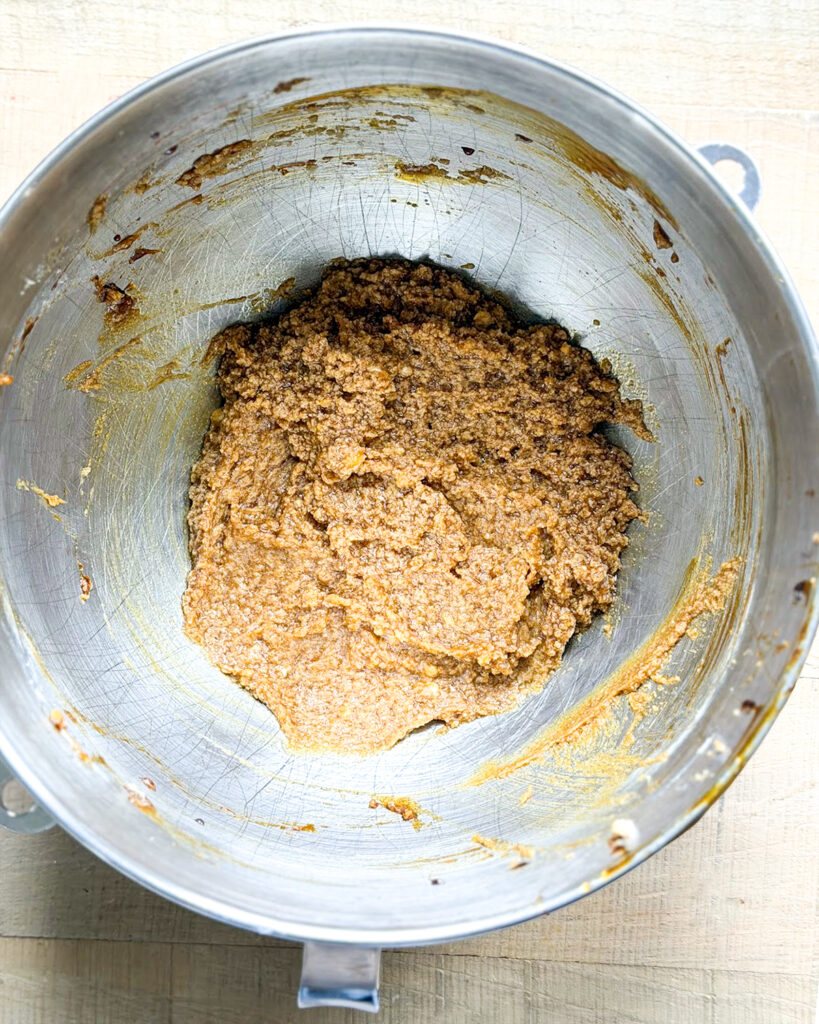
Step 2: Combine the Wet Ingredients. Cream together the butter, brown sugar and granulated sugar. Mix them for 2 to 3 minutes. Then add in the molasses, egg, and vanilla extract until just combined. It may look curdled, but it’ll be okay.
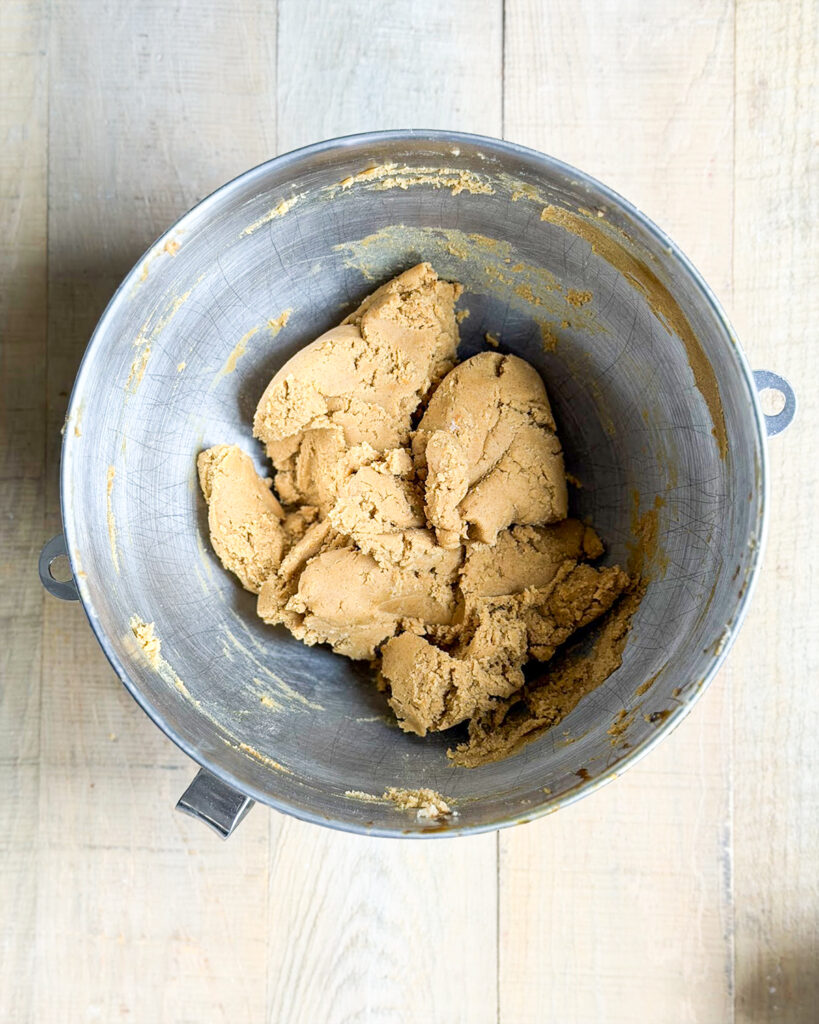
Step 3: Make the Cookie Dough. Add the dry ingredients to the wet ingredients and mix together on low until combined. The dough is thick, so don’t give up, keep mixing until it comes together.
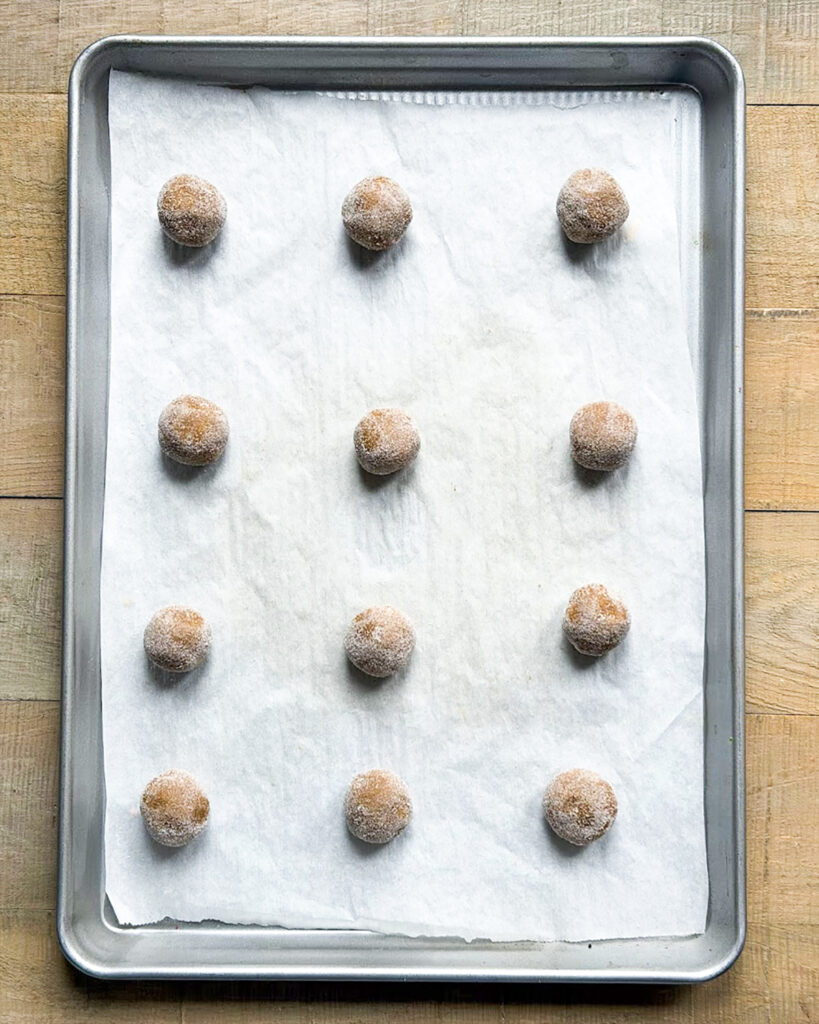
Step 4: Bake the Cookies. Roll the cookie dough into balls, about 1 Tablespoon each. Then roll them in granulated sugar, or coarse sugar. Bake until the cookies are puffed up and the tops are set. They won’t spread much in the oven, and you don’t want to over bake them, so watch closely the last minute or two.

Step 6: Top with a Kiss. Let the cookies cool for about 2 minutes on the baking sheet, then top each one with a Hershey Hug or Kiss. Let the cookies cool completely, then enjoy.
Tips and Tricks
- Measure the Flour Correctly – Its important to measure flour correctly to avoid adding too much and ending with dry cookies. Spoon the flour into the measuring cup, then level the top off with the back of a knife. Or weigh the flour for the best results.
- Do not Over Bake – The cookies should just start to crack, and barely be set on top. This will prevent them from cracking too much when you press in the Hershey Kiss, and falling apart.
- Chocolate Kisses or Hugs: Regular chocolate kisses won’t melt as much and will hold their shape better. So if you’re using white chocolate Hugs you will need to press an indent into the cookie after 2 minutes, then remove the candy. Add the candies back on after another 8 minutes and the cookies have cooled a little more. If they still start to melt more than you like you can transfer the cookie sheet into your fridge or freezer for about 10 minutes to stop the melting.
Storage Instructions
Store the cooled cookies in an airtight container at room temperature for up to 5 days. The cookies can also be frozen for up to 2 months, but the Hershey Kiss may fall off the cookie in the freezer if they’re thrown around in the freezer. Defrost the frozen cookies at room temperature until soft and ready to enjoy.
These Ginger Blossom Cookies are everything you love about gingerbread, paired with the charm of a chocolate Kiss on top! They’re easy, and so fun for the holidays!
Even More Ginger Desserts to Love:
- Iced Ginger Oatmeal Cookies
- Gingerbread Whoopie Pies
- Gingerbread Truffles // Like Mother Like Daughter
- Soft Molasses Ginger Cookies // Like Mother Like Daughter
- Decorated Gingerbread Men // Like Mother Like Daughter
- Gingerdoodle Cookies // Like Mother Like Daughter
If you try these Ginger Blossom Cookies, please leave a 🌟 rating and let me know how it went in the comments below. I love hearing from you!

Ginger Blossom Cookies
Ingredients
- 3 cups All Purpose Flour (spooned and leveled, or weighed)
- 2 tsp Ground Ginger
- 1 tsp Baking Soda
- 1 tsp Ground Cinnamon
- 1/2 tsp Salt
- 1/4 tsp Ground Cloves
- 1/4 tsp Ground Nutmeg
- 3/4 cup Unsalted Butter
- 1/2 cup Brown Sugar
- 1/4 cup Granulated Sugar
- 6 TBS Molasses
- 1 Large Egg
- 1 tsp Vanilla Extract
- 1/2 cup Granulated Sugar (for rolling)
- 36 Chocolate Kisses or Hugs
Instructions
- Preheat the oven to 350 degrees. Line a baking sheet with parchment paper, or a silicone liner.
- In a medium bowl, whisk together the dry ingredients, flour, ginger, baking soda, cinnamon, salt, cloves, and nutmeg. Set it aside. 3 cups All Purpose Flour, 2 tsp Ground Ginger, 1 tsp Baking Soda, 1 tsp Ground Cinnamon , 1/2 tsp Salt, 1/4 tsp Ground Cloves, 1/4 tsp Ground Nutmeg3/4 cup Unsalted Butter
- Using a large bowl with a hand mixer, or a stand mixer, cream together the butter and sugars for a couple minutes until light and fluffy. 3/4 cup Unsalted Butter, 1/2 cup Brown Sugar, 1/4 cup Granulated Sugar
- Add in the Molasses, Egg, and Vanilla Extract and stir until just combined. 6 TBS Molasses, 1 Large Egg, 1 tsp Vanilla Extract
- Add the dry ingredients to the wet ingredients and mix on slow speed until combined.
- Scoop the dough into 1 TBS portions and roll them into balls. Roll the balls into the remaining sugar. 1/2 cup Granulated Sugar
- Place them onto the prepared baking sheet, 2 inches apart from each other.
- Bake the cookies for 7 to 9 minutes, or until the tops are just barely set.
- Remove the cookies from the oven and gently press a chocolate kiss into the cookie. Don't push it down hard or the cookie will break.
- Let the cookies cool on the baking pan for 10 minutes, then transfer them to a wire cooling rack to cool completely.
Notes
- Measure the Flour Correctly – Its important to measure flour correctly to avoid adding too much and ending with dry cookies. Spoon the flour into the measuring cup, then level the top off with the back of a knife. Or weigh the flour for the best results.
- Do not Over Bake – The cookies should just start to crack, and barely be set on top. This will prevent them from cracking too much when you press in the Hershey Kiss, and falling apart.
- Chocolate Kisses or Hugs: Regular chocolate kisses won’t melt as much and will hold their shape better. So if you’re using white chocolate Hugs you will need to press an indent into the cookie after 2 minutes, then remove the candy. Add the candies back on after another 8 minutes and the cookies have cooled a little more. If they still start to melt more than you like you can transfer the cookie sheet into your fridge or freezer for about 10 minutes to stop the melting.
- Storage Instructions: Store the cooled cookies in an airtight container at room temperature for up to 5 days. The cookies can also be frozen for up to 2 months, but the Hershey Kiss may fall off the cookie in the freezer if they’re thrown around in the freezer. Defrost the frozen cookies at room temperature until soft and ready to enjoy.

Leave a Reply