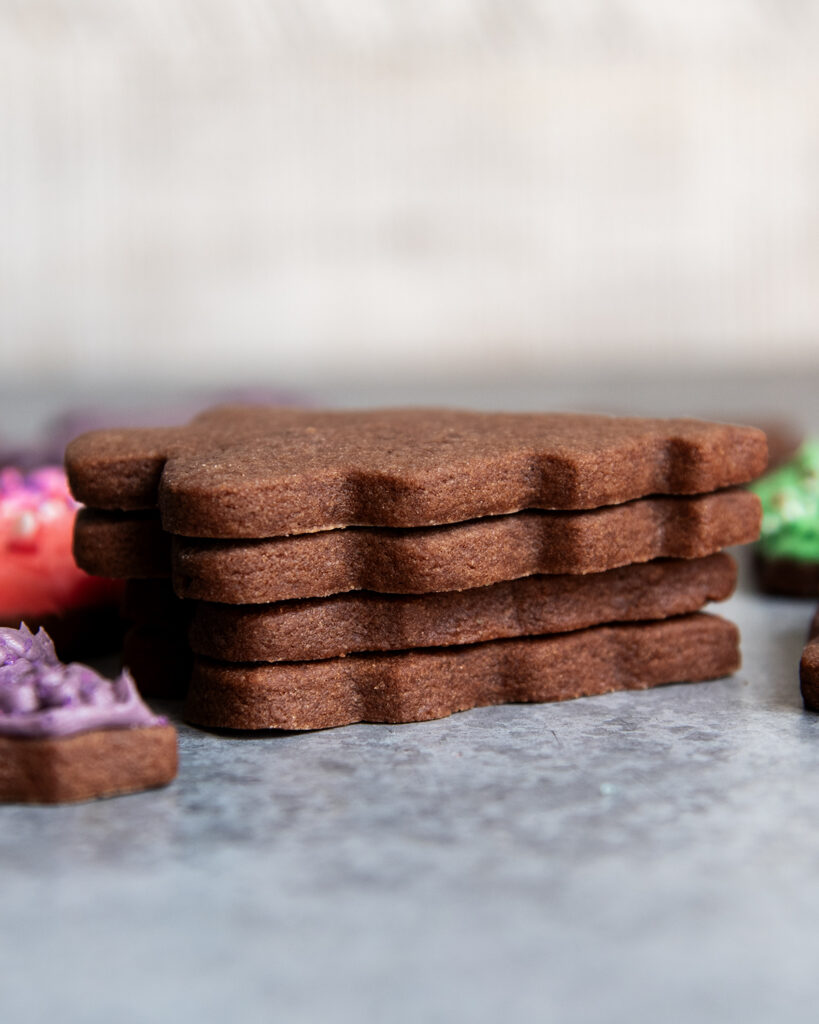
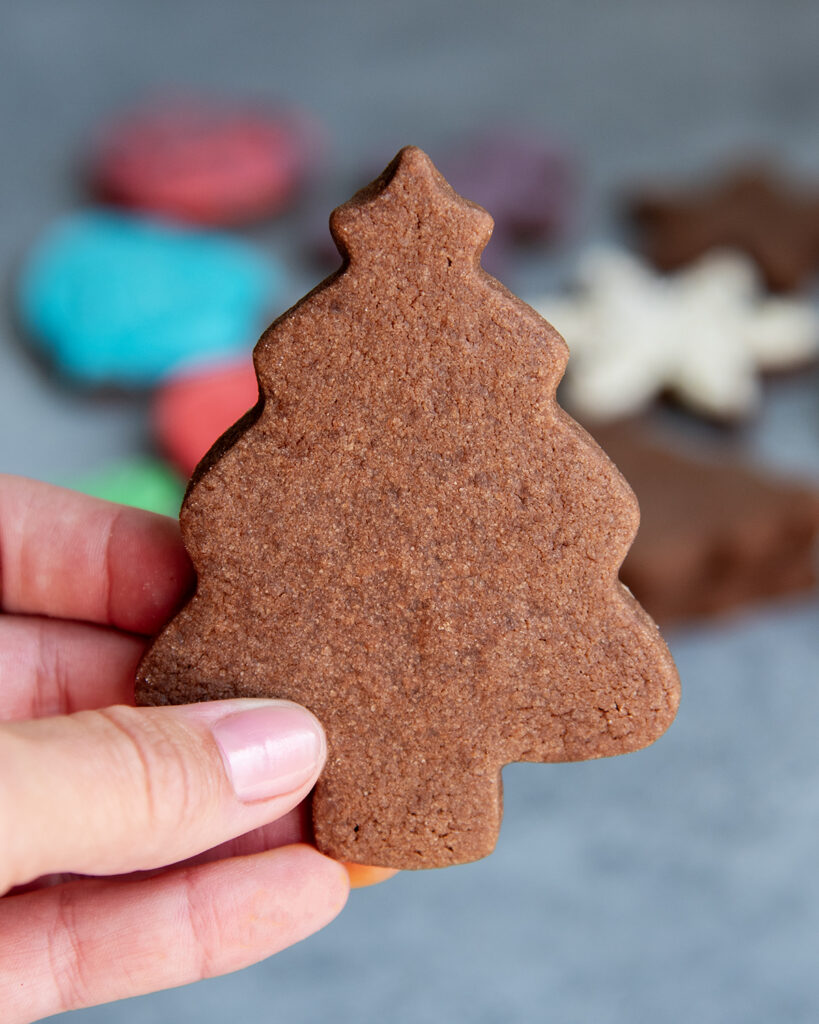
These Chocolate Sugar Cookies take my Sugar Cookie Cut Out to a new chocolatey level. They are thick and soft, and hold their shape so beautifully, with nice crisp and clean edges making them perfect for decorating.

The flavor of these cookies is so rich and chocolatey, thanks to the right amount of cocoa powder. And the dough is super easy to work with. No sticky mess, and less than two hours of chilling. The cookies are delicious frosted (I especially love our buttercream frosting for Christmas cookies) or a Chocolate Buttercream Frosting on top. But they are also delicious when eaten plain.

Why you’ll Love these Cookies
- Rich Chocolate Flavor: A fun twist on classic cut out sugar cookies, these have a nice chocolatey flavor in every bite.
- Quick and Easy: This is a good basic sugar cookie made with basic ingredients you likely have on hand. The hardest part is the chilling, but I promise it’s worth it for the sharp edges.
- Beautiful Shapes: The cookie hold their shapes without puffing up or spreading too much.
- Freezer Friendly: The cookies or the cookie dough can be frozen so you can have cookies now OR later.
Ingredients Needed
This is a quick overview of the ingredients you’ll need for this Chocolate Sugar Cookie Recipe. Specific measurements and full recipe instructions are in the printable recipe card below.
- Unsalted Butter – Use real butter (not margarine or other butter spreads)
- Granulated Sugar – not too much sugar for these cookies, keeps them sweet, and soft, but also helps them not to spread
- Egg – Just one to help bind the cookie dough together.
- Vanilla Extract – Make sure to use the real deal!
- All Purpose Flour – The base of the cookie dough
- Unsweetened Cocoa Powder – This gives the dough a nice chocolatey flavor
- Baking Powder – helps the cookies rise just a bit to keep them soft, without spreading
- Salt – just a bit for flavor
How to make Chocolate Sugar Cookies?
Step 1: Cream the butter and sugar. You’ll mix them together for about 2 minutes to get the mixture light and fluffy. Then add in the egg and vanilla.
Step 2: Add in the dry ingredients. Add in the flour, cocoa powder, baking powder and salt, the dough will look dry at first, but continue mixing until it comes together and can form a soft ball (similar texture to playdough). Roll the dough out on a lightly floured surface until it is about 1/4 inch thick. We roll it out now because chilled dough is much harder to roll out. Place it between two pieces of parchment paper and chill for 1 hour.
Step 3: Cut out the Cookies. Cut out the shapes, using as much of the dough as you can, and place them onto a lined baking pan about 1 inch apart. Place the whole pan in the fridge to chill for about 15 to 30 minutes, while you preheat the oven.
Step 4: Bake the cookies. Bake the cookies until the tops are no longer shiny, and barely look set. This will depend on how big your cookies are, but could be anywhere from 5 to 6 minutes for tiny cookies, 7-8 minutes for medium cookies (this is what mine usually are), or 9-11 minutes for larger cookies. Let the cookies cool on the pan for about 5 minutes then carefully transfer them to a cooling rack to continue cooling. (They may break if you try moving them sooner). You can frost the cookies once they are cooled.
Tips and Tricks
- Chilling: I don’t recommend baking these cookies without chilling. They’ll still taste delicious but the cookies won’t keep their shapes nicely.
- Watch Closely – The cookies bake in just a few minutes, so you want to watch the last minute or two of baking time to keep them from baking too long in the oven. The tops of the cookies will look just set when you remove them from the oven for a soft cookie.
- Crisp Cookies – The cookies are soft as is, but if you prefer a crisp sugar cookie you can bake them for about 1 – 2 extra minutes. Watch closely because they only need a little extra time to crisp up a bit.
- Re-Roll the Scraps – You can scoop up and squish the cookie dough scraps back together and roll them back out into a flat surface to make even more cookies. This will keep you from wasting any dough, unless you want to sneak a bite and eat some before baking 😉
Storage Instructions
Once cooled you can store the cut out sugar cookies in an airtight container for up to 4 or 5 days. The unfrosted cookies can be stacked in the container. Once frosted you should let the frosting set then they should still be able to be stacked with layers of parchment paper between them.
The cookies can also be frozen. They can be frozen undecorated, or decorated. If decorated flash freeze the cookies in a single layer for about 1 hour, then transfer them to a freezer safe bag and place parchment paper between the layers of cookies. They can be frozen for up to 3 months.

These Chocolate Sugar Cookies Cut Outs are a fun way to have a flavorful twist on classic cut out cookies. With their soft texture, rich chocolate flavor, they are perfect for holiday baking, or anytime you’re in the mood for a chocolatey treat. I just know once you try this twist you’ll be making these over and over again!
More Chocolate Favorites
- Chocolate Blossom Cookies
- Mint Chocolate Fudge Recipe
- Chocolate Haystack Cookies
- Handmade Chocolate Covered Cherries
- Checkerboard Cookies
- Hot Chocolate Cookies // LMLD
- Chocolate Chip Cookie Dough Ice Cream // LMLD
If you try these Chocolate Cut Out Sugar Cookies, please leave a 🌟 rating and let me know how it went in the comments below. I love hearing from you!

Chocolate Sugar Cookies (Cut Outs)
Ingredients
- 1 cup unsalted butter (slightly softened)
- 1 cup granulated sugar
- 1 large egg
- 2 tsp vanilla extract
- 2 1/2 cup all purpose flour (spooned and leveled or weighed)
- 6 TBS unsweetened cocoa powder
- 1/2 tsp baking powder
- 1/2 tsp salt
Instructions
- Cream together the butter and sugar in a large bowl (the bowl of a stand mixer), or with a hand mixer until light and fluffy, about 2 minutes. 1 cup unsalted butter , 1 cup granulated sugar
- Add the egg and vanilla extract and mix until combined, scraping the edges and side of the bowl as needed. 1 large egg, 2 tsp vanilla extract
- Add in the flour, cocoa powder, baking powder, and salt and mix until combined and you have a nice soft dough. (It will look crumbly at first then will start to come together). 2 1/2 cup all purpose flour, 6 TBS unsweetened cocoa powder, 1/2 tsp baking powder, 1/2 tsp salt
- Roll the cookie dough out on a lightly floured counter top to be 1/4 inch thick.
- Cover the dough with parchment paper on top and bottom and place it in the fridge for 1 hour.
- Remove from the fridge and cut the cookies out into desired shapes.
- Place the cookies onto a lined cookie sheet about 1 inch apart.
- Place the cookie sheet in the fridge to chill for another 15 minutes.
- While chilling, preheat the oven to 350 degrees Fahrenheit.
- Continue rolling and cutting out additional cookies, pressing the scraps of dough together as needed.
- Place one pan of cookies into the oven at a time and bake for 7 to 8 minutes, for 2 to 3 inch cookies, or until the tops of the cookies are no longer shiny, and the cookies look set.
- Remove the pan from the oven and let the cookies sit on the cookie sheet for at least 5 minutes to chill.
- Transfer the cookies to a cooling rack to cool completely.
- Enjoy unfrosted, or frost and decorate as desired.
Notes
- Chilling – You can bake these cookies straight after making the dough, but your edges might be a little less crisp. Since its a minimal chilling process already, I usually just chill them, but if you’re in a hurry you can skip that step. They’ll still taste and look beautiful.
- Watch Closely – The cookies bake in just a few minutes, so you want to watch the last minute or two of baking time to keep them from baking too long in the oven. The tops of the cookies will look just set when you remove them from the oven for a soft cookie.
- Crisp Cookies – The cookies are soft as is, but if you prefer a crisp sugar cookie you can bake them for about 1 extra minute. Watch closely because you still want your cookies to be light in color, they only need a little extra time to crisp up a bit.
- Re-Roll the Scraps – You can scoop up and squish the cookie dough scraps back together and roll them back out into a flat surface to make even more cookies. This will keep you from wasting any dough, unless you want to sneak a bite and eat some before baking 😉

Leave a Reply