Homemade vanilla extract is as easy as it gets – you only need two ingredients; vanilla beans and vodka. The beans will infuse their flavor into the vodka for a few, to several months. This is so much cheaper, and better than store-bought vanilla.
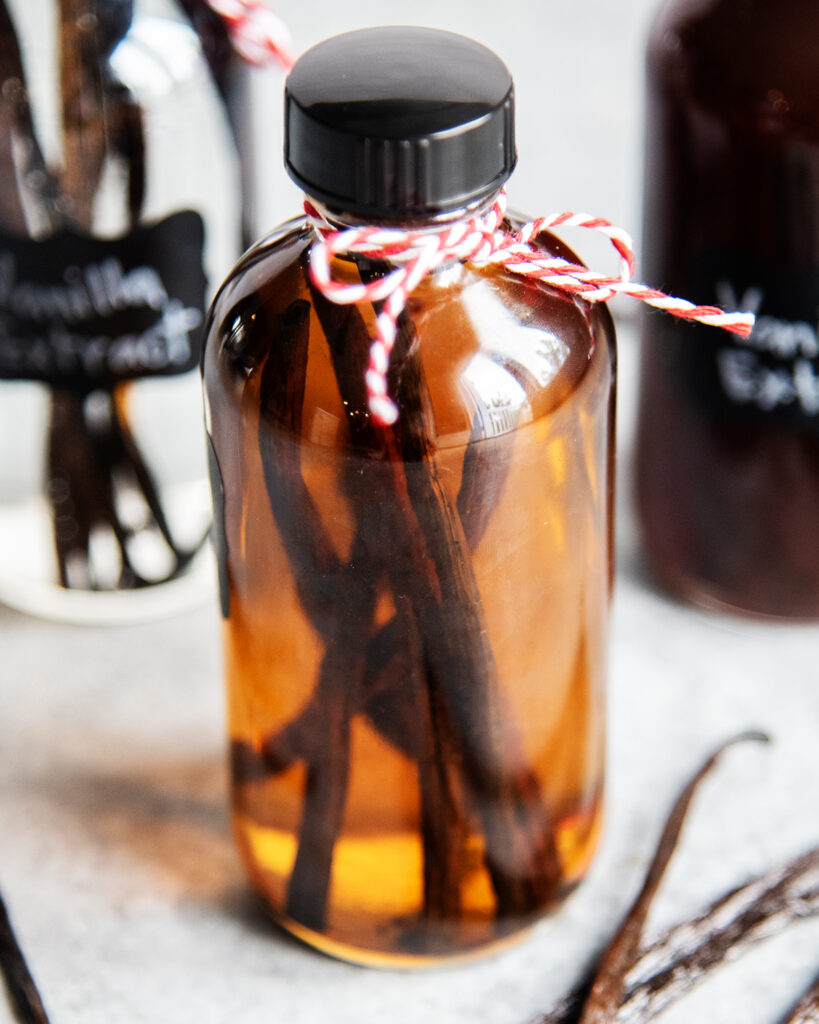
Vanilla extract is a staple in my kitchen, and I use it in almost all my favorite baked goods, ie, our high altitude chocolate chip cookies, oatmeal scotchie cookies, lemon curd thumbprints, and drop sugar cookies.
Of course you can grab vanilla from the grocery store, but making homemade vanilla extract is cost-effective, and lets you customize the flavor too – plus, it makes a great neighbor gift for the holidays, you just have to start planning a few months in advanced!
Why make this recipe
- Cheaper than Store Bought – Buying vanilla extract can be expensive, especially some years more than others, but making it at home can save you money because you can buy your vanilla beans in bulk. It runs about $7 per 4oz bottle compared to the same price for a 2oz bottle from the store (**this all depends where you live, and what price you get for your vanilla beans, vodka, and bottles, etc.)
- Perfect for Gifts – Homemade vanilla is such a thoughtful, and will be a much appreciated gift for friends and family. Make bigger bottles and split them before you gift them, or make 4 oz bottles with just 3 vanilla beans each for gifting.
- Much better Flavor – You can add a couple extra beans, and infuse your extract for longer for an extra strong flavor in your vanilla, which will make your baked goods even more delicious.
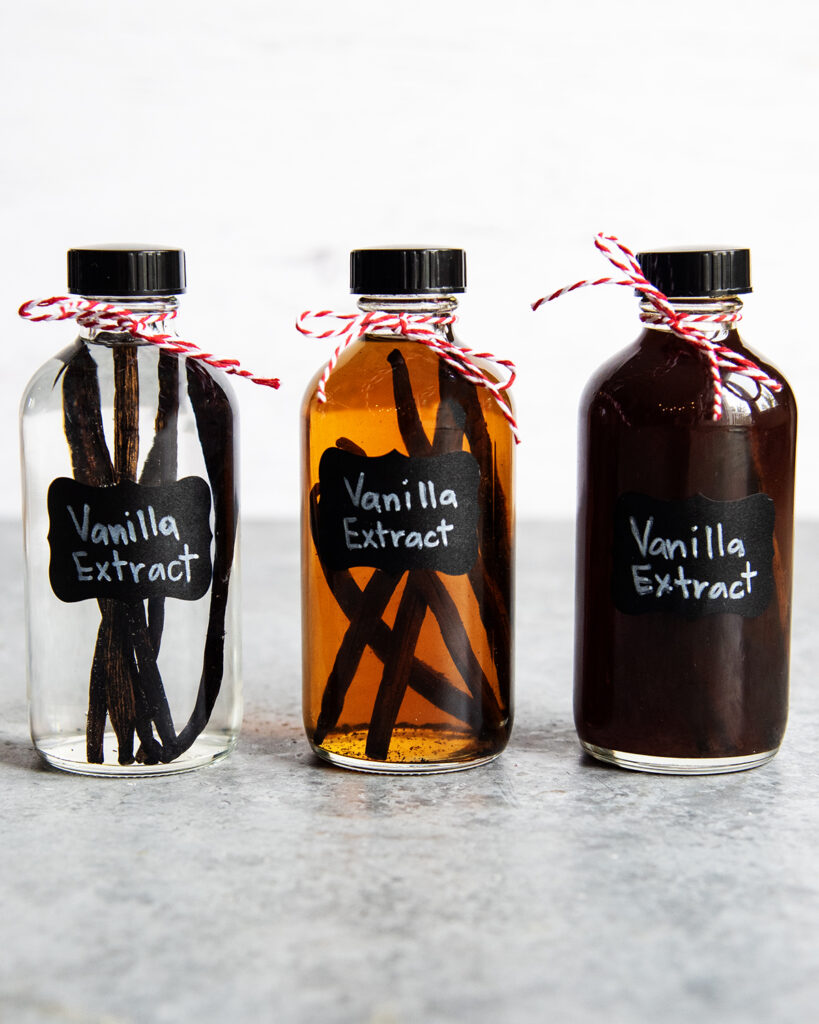
Ingredients and Materials Needed
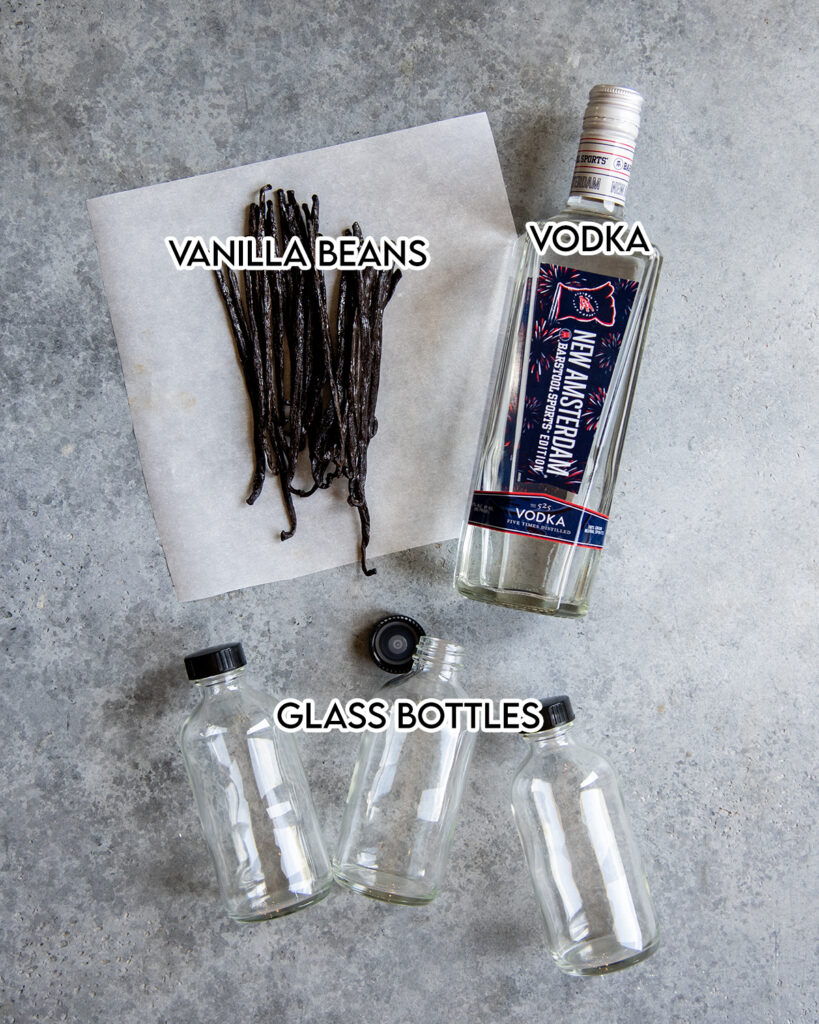
This is a quick overview of the ingredients you’ll need for this Homemade Vanilla Extract Recipe. Specific measurements and full recipe instructions are in the printable recipe card below.
- Vodka – Vanilla is commonly made from Vodka, but you can use Bourbon, Brandy, or Rum as well. Start with Vodka the first time you make your own vanilla and experiment later on. You can buy cheap alcohol for this, since the flavor is from the vanilla beans.
- Vanilla Beans – You can use Grade A or Grade B vanilla beans. Grade B vanilla beans are specifically sold for extracts, and may be cheaper, but both will taste great. You can use Madagascar Vanilla Beans, or Tahitian Vanilla Beans.
- Glass Bottles with a Tight Seal – I usually use 8 oz bottles for my homemade vanilla. I also like these Swing Top Bottles, both options seal well.
- Funnel – Helps pour the alcohol into the bottles without dripping down the sides.
How to make Vanilla Extract?
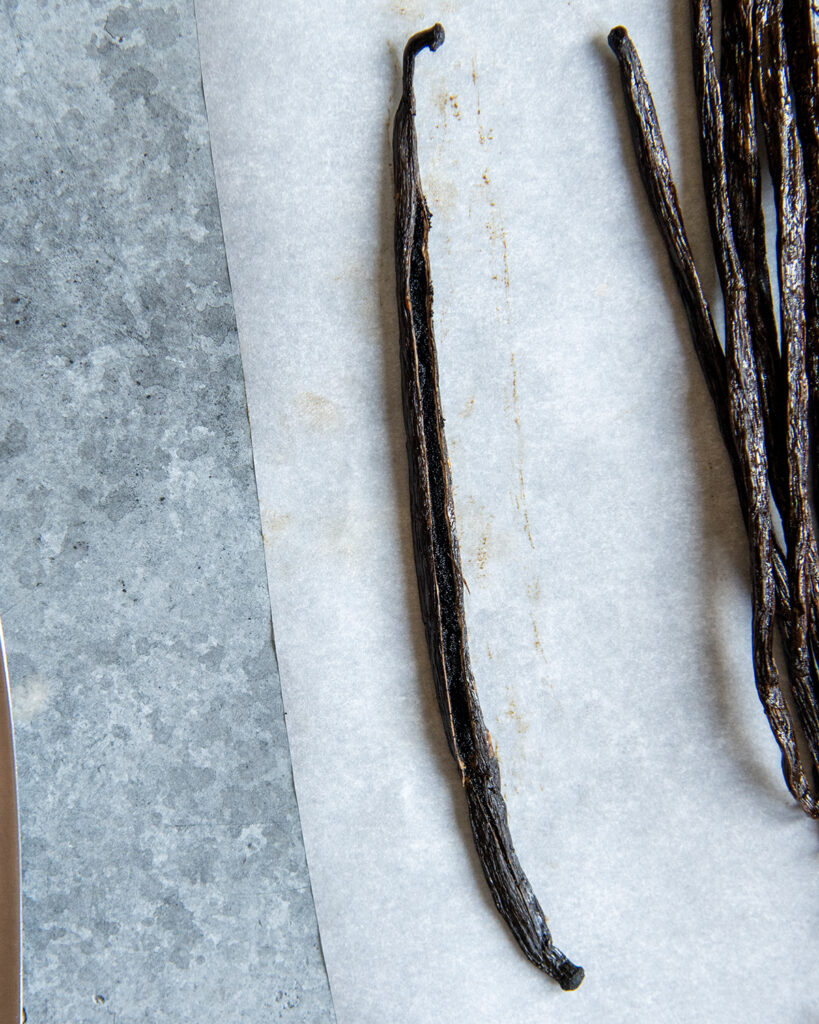
Step 1: Open up the Vanilla Beans. Use a sharp knife to slit the vanilla beans down the middle. They don’t need to be cut full in half, but we need to open them up so the vanilla beans are exposed. If the vanilla beans are too long for your bottles, you can cut them in halves, or smaller pieces, or trim off the end pieces. Place the beans into the bottle.
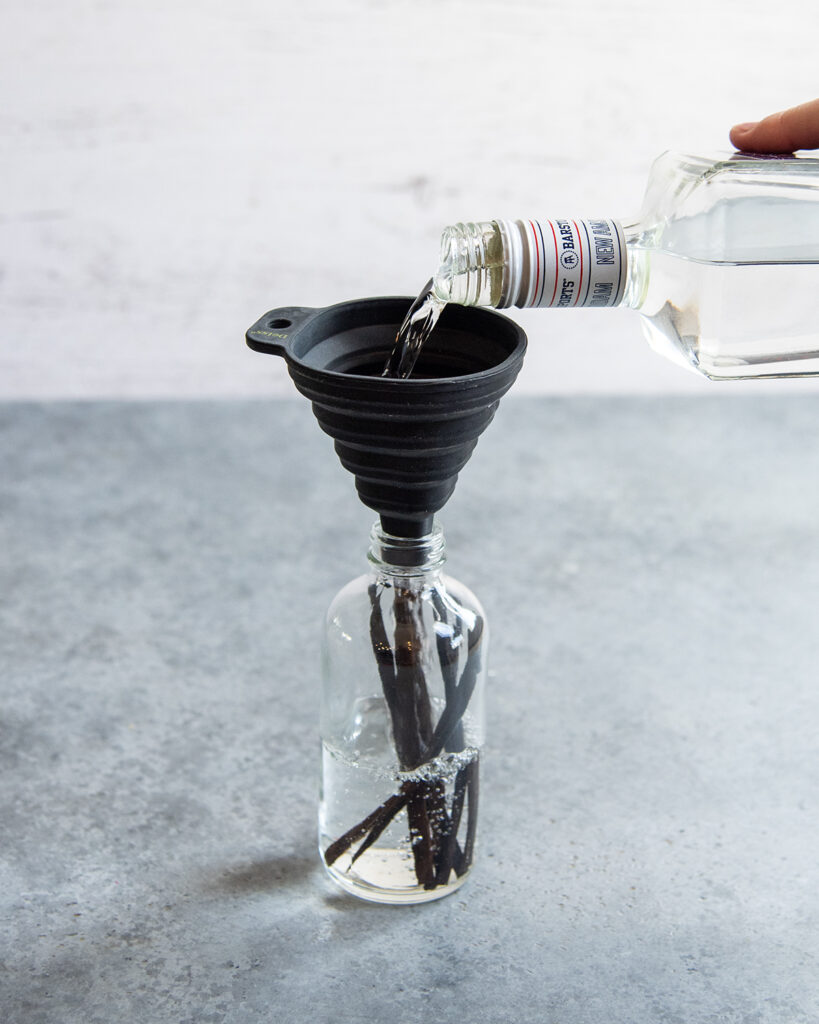
Step 2: Pour Vodka into the bottles. Pour 8 oz of Vodka into each bottle, or enough to make sure the beans are fully submerged in the alcohol. Shake the bottle.
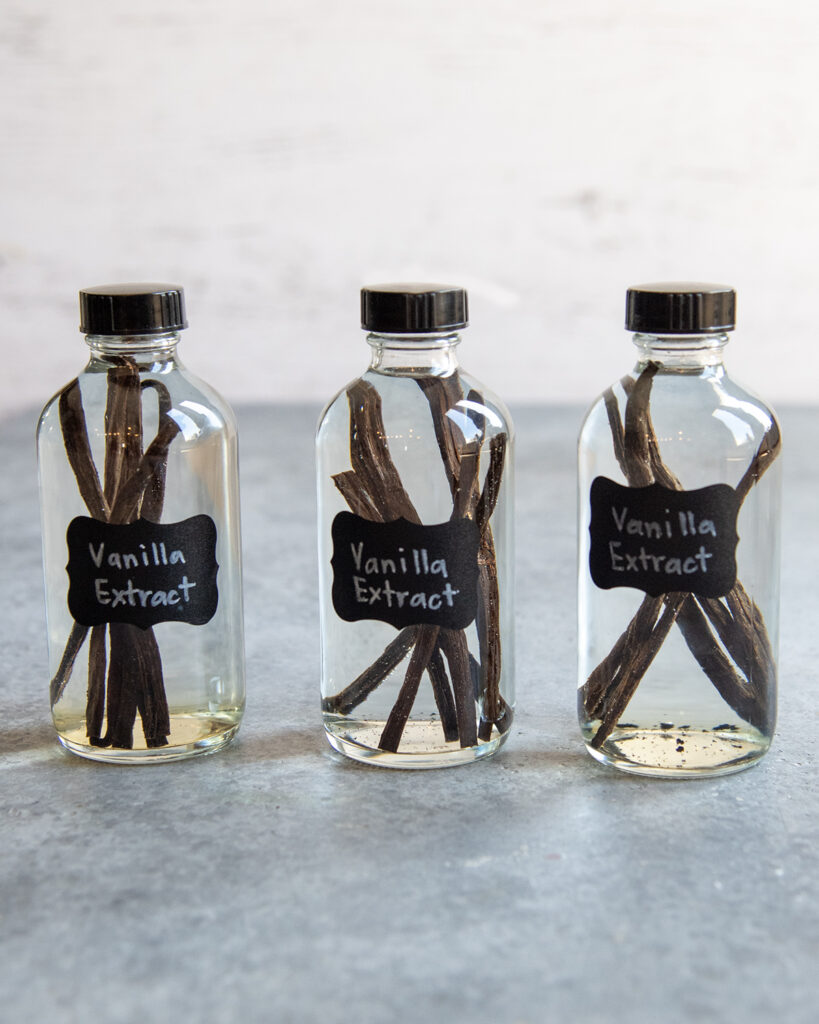
Step 3: Wait and shake. Store the bottles of vanilla in a cupboard, or somewhere out of direct sunlight. Shake the bottles once every week or two. The vanilla can be used in as little as 3 months, but gets better and better with time. I recommend waiting 6 months, but 12 months will give you an even stronger flavor.
Tips and Tricks
- FDA approval – according to the FDA we need 0.83oz of vanilla beans for every 8oz of vodka, this is a hard number to measure based on different sized beans. Because we are not selling our vanilla extract, we don’t have to have the correct amount, but if you want to weigh your beans you are welcome to. This can range from 4 to 14 beans (or more) depending on the size of your beans. The longer you let your vanilla soak the better it will taste, regardless of having the exact number of beans.
- Refill – As you use your vanilla you can refill it with more vodka. Give the bottle a shake after you refill it and shake it again before each use. When the vanilla beans are exposed above the alcohol level they will start to become a bit slimy. This means you may want to remove the vanilla beans from the bottle if you are giving it as a gift, so the receiver doesn’t have to continue to refill the bottle, and the vanilla beans can be used again.
- Reuse the beans – If the vanilla has been seeping for at least 6 months, remove the beans and you can use them for one more batch, starting with 8 oz more Vodka, and letting it sit for an additional 6 months or longer, shaking occasionally.
- In Recipes – Use the same amount of homemade vanilla extract as you would use from your store bought vanilla extract in all your recipes.
Storage Instructions
If the beans are fully submerged the vanilla extract will last for several years in a cool dry place. If you have used some of the vanilla you can remove the beans and the extract will last almost indefinitely.
How to Use Homemade Vanilla Extract?
Homemade Vanilla Extract can be used in the same way you’d use your store bought vanilla extract. Here are some of my favorite ways to use this vanilla.
- Vanilla Ice Cream – Homemade vanilla ice cream is even better with homemade vanilla extract!
- In your favorite cookies – Take your cookies to the next level with this extract, try our Drop Sugar Cookies, High Altitude Chocolate Chip Cookies, or Lemon Thumbprint Cookies.
- In other Baking – The extract can be used in your favorite cakes, cupcakes, pies, or even frostings.
- In Sauces and Syrups – This is a great way to flavor homemade sauces and syrups, perfect for topping your favorite breakfast foods, and desserts, like caramel sauce, strawberry sauce, or buttermilk syrup.
- Homemade Gifts – Package up your homemade vanilla extract in cute bottles with a bow as a thoughtful gift for your friends and family!
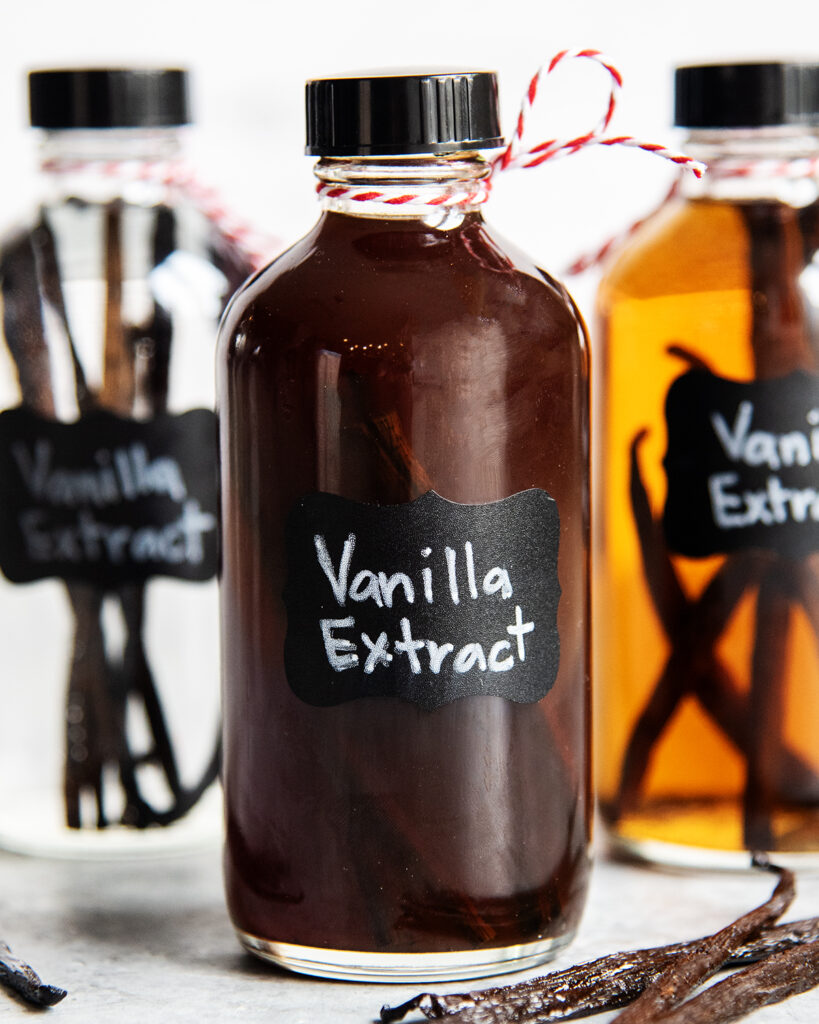
Homemade vanilla extract is such a fun, rewarding and delicious project – with only two ingredients and some patience you can have some vanilla extract that will really elevate your baking and cooking!
More Edible Gift Ideas
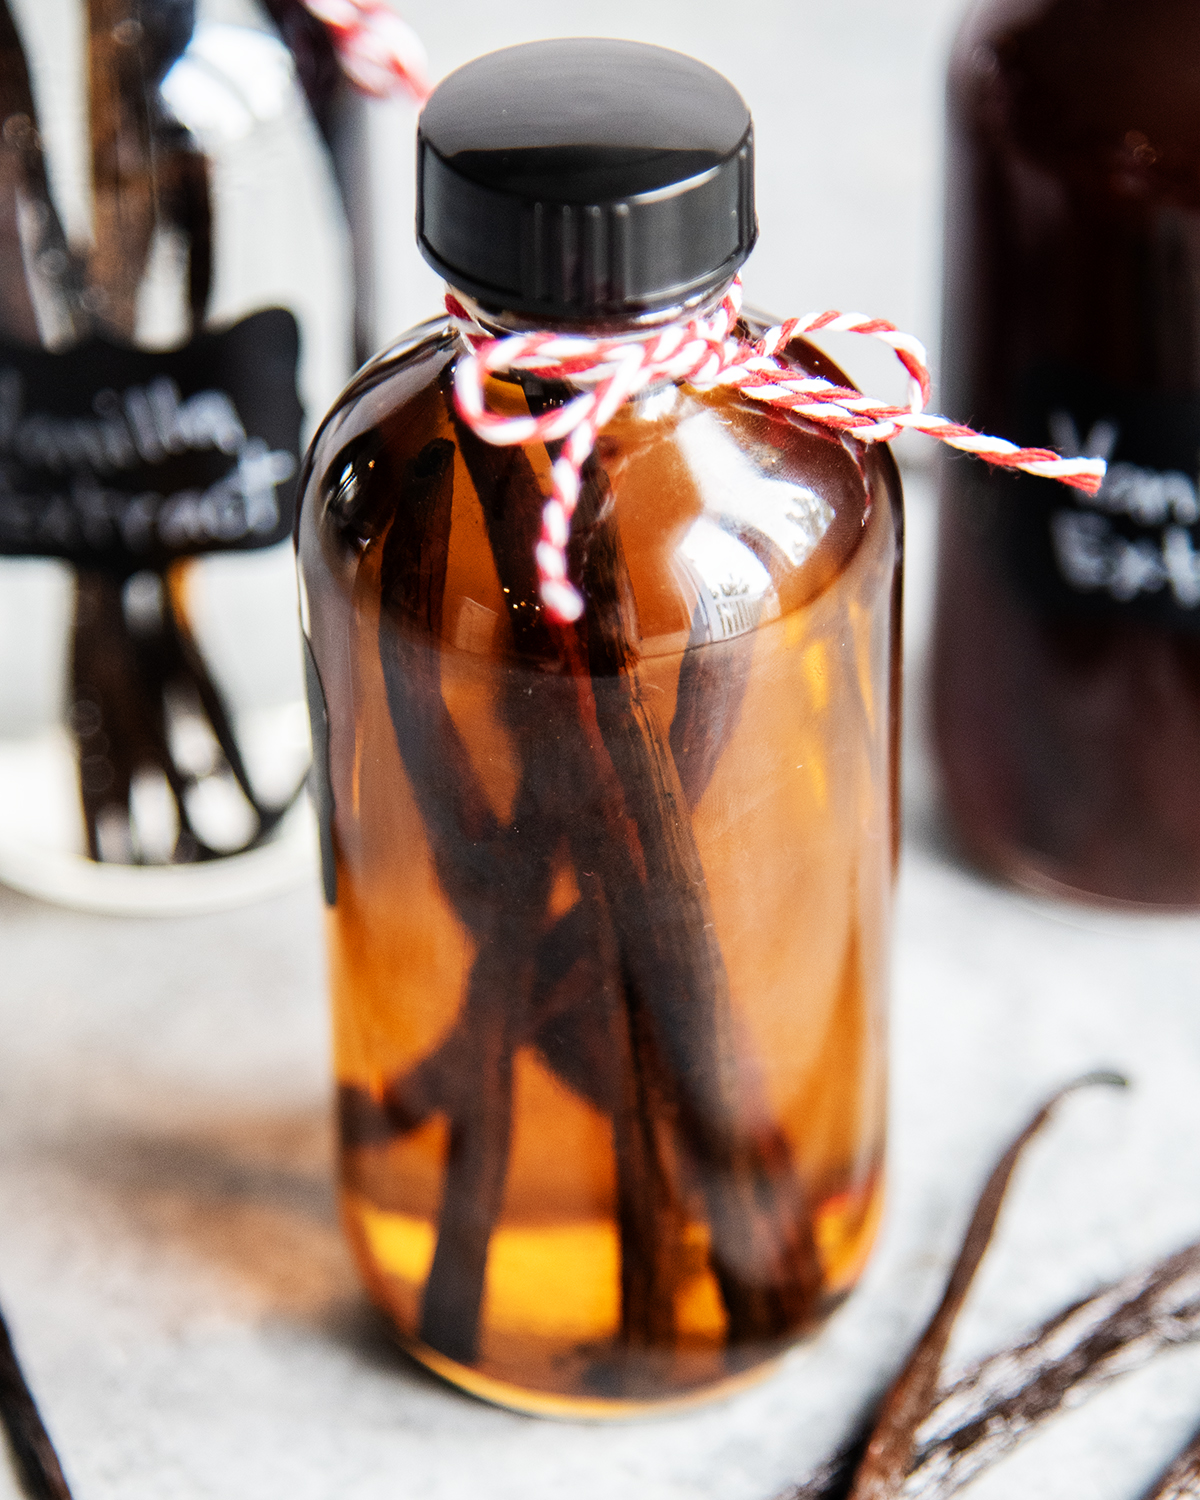
Homemade Vanilla Extract
Equipment
- 1 8 oz glass bottle (with a airtight lid)
- funnel
Ingredients
- 8 oz Vodka
- 6-8 Vanilla beans
Instructions
- Clean out your bottles and lids, and dry them completely.
- Split your vanilla beans in half down the middle so that the beans are exposed. You don't need to cut them through, just cut through one side to expose the seeds.
- Trim the beans as need to ensure they will fit inside the bottles.
- Place the vanilla beans in the bottle.
- Using a funnel, or carefully pour the vodka into the bottle over the top of the beans until they are fully submerged. Leave a little space at the top of the bottle so you have room to shake the bottle over time.
- Seal the bottle with a lid, and add a label if using.
- Store the vanilla in a cool place, away from sun exposure. Shake the bottle about once every week.
- Use vanilla after 3 months, 6 months to 1 year is even better! (Repeat with additional beans, vodka, and bottles as desired.)
Notes
- FDA approval – according to the FDA we need 0.83oz of vanilla beans for every 8oz of vodka, this is a hard number to measure based on different sized beans. Because we are not selling our vanilla extract, we don’t have to have the correct amount, but if you want to weigh your beans you are welcome to. This can range from 4 to 14 beans (or more) depending on the size of your beans. The longer you let your vanilla soak the better it will taste, regardless of having the exact number of beans.
- Refill – As you use your vanilla you can refill it with more vodka. Give the bottle a shake after you refill it and shake it again before each use. When the vanilla beans are exposed above the alcohol level they will start to become a bit slimy. This means you may want to remove the vanilla beans from the bottle if you are giving it as a gift, so the receiver doesn’t have to continue to refill the bottle, and the vanilla beans can be used again.
- Reuse the beans – If the vanilla has been seeping for 6 months, remove the beans and you can use them for one more batch, starting with 8 oz more Vodka, and letting it sit for an additional 6 months or longer, shaking occasionally.
- In Recipes – Use the same amount of homemade vanilla extract as you would use from your store bought vanilla extract in all your recipes.

Can you put the vanilla beans into the vodka bottle and then funnel it into bottles when it’s ready?
Yes! I haven’t done it this way, but I’ve seen others suggest it, so I might try it next time. Just make sure you are adding enough beans for the oz of vodka 🙂
I have been enjoying your recipes. However, I have been making vanilla for quite sometime now. Only part of your information is correct. The FDA guideline is correct. It is easier to weight out the beans per ounce though. Incorrect information: 1, You cannot keep adding alcohol to your vanilla as you use it. that dilutes the extract. 2, Once the beans have been extracted they cannot be used over and over, they are spent. you can make vanilla sugar with them though. Dry them first and add them to sugar. 3, The extraction comes from the inside wall of the bean. Science has shown that if you slit your beans and cut them up you will have more extraction surface. 4, It takes 4-6 months to fully extract, with some shaking. It is easier to put your beans and alcohol in a canning jar for the extraction time and then decant into smaller bottles. I like to put a few pieces of bean into my smaller bottles of vanilla to continue to age, like fine wine ages.
I have been making vanilla extract for years. Rule of thumb is to weigh your vanilla beans with a kitchen scale, rather than bean count. 1 oz. of beans to 8 oz. of vodka. Beans can vary in size, so it’s best to weigh them. Although beans can be ready in a shorter amount of time, it is good to extract them for at least 12 months. It truly is the best extract you’ll ever use.