These high altitude chocolate chip cookies are the perfect chocolate chip cookie, even in elevated locations. These cookies will stay thick, without spreading too thin, and without chilling the dough – this recipe is a game-changer for those baking in high altitudes.
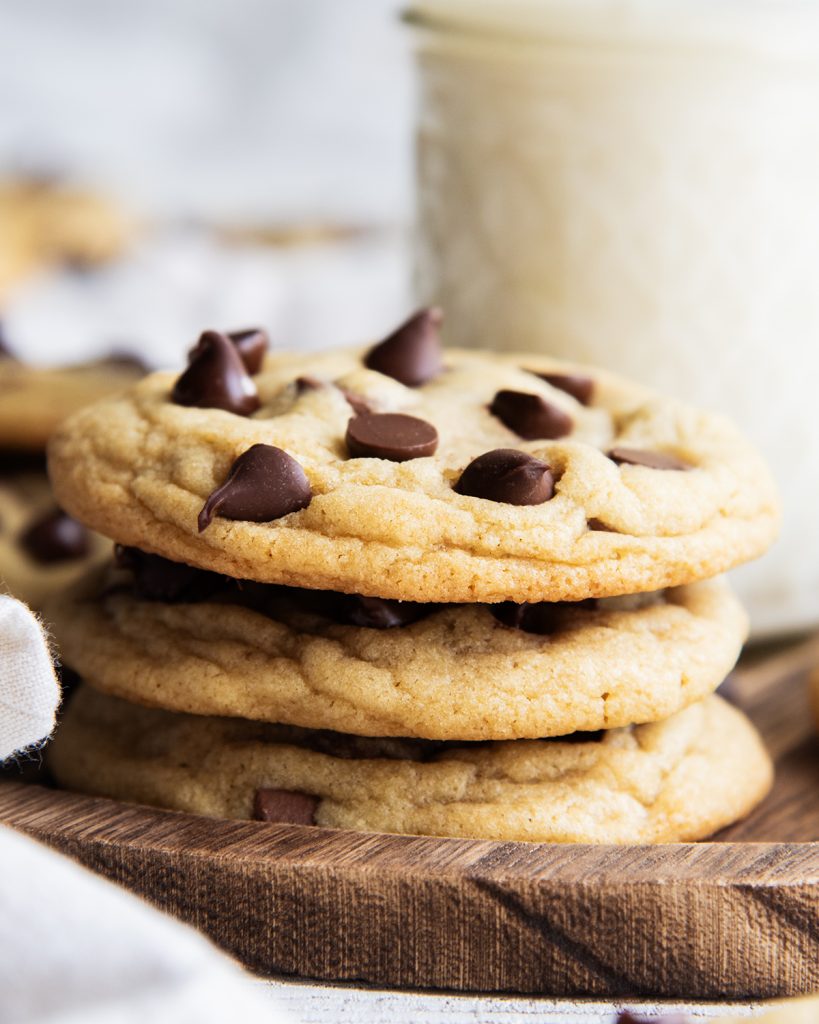
Many high altitude bakers sometimes struggle with making baked goods, but with a few recipe adjustments, and the right tips and tricks even you can conquer the altitude and bake a batch of classic chocolate chip cookies. Instead of struggling with flat cookies, that spread too much – this recipe will give you the perfect soft and chewy cookie.
Why does altitude affect baking
High altitude baking presents challenges due to a lower air pressure, and lower moisture levels. With the right adjustments, you can still create cookies that are soft, and chewy in the middle, with just the right amount of crispness on the edges!
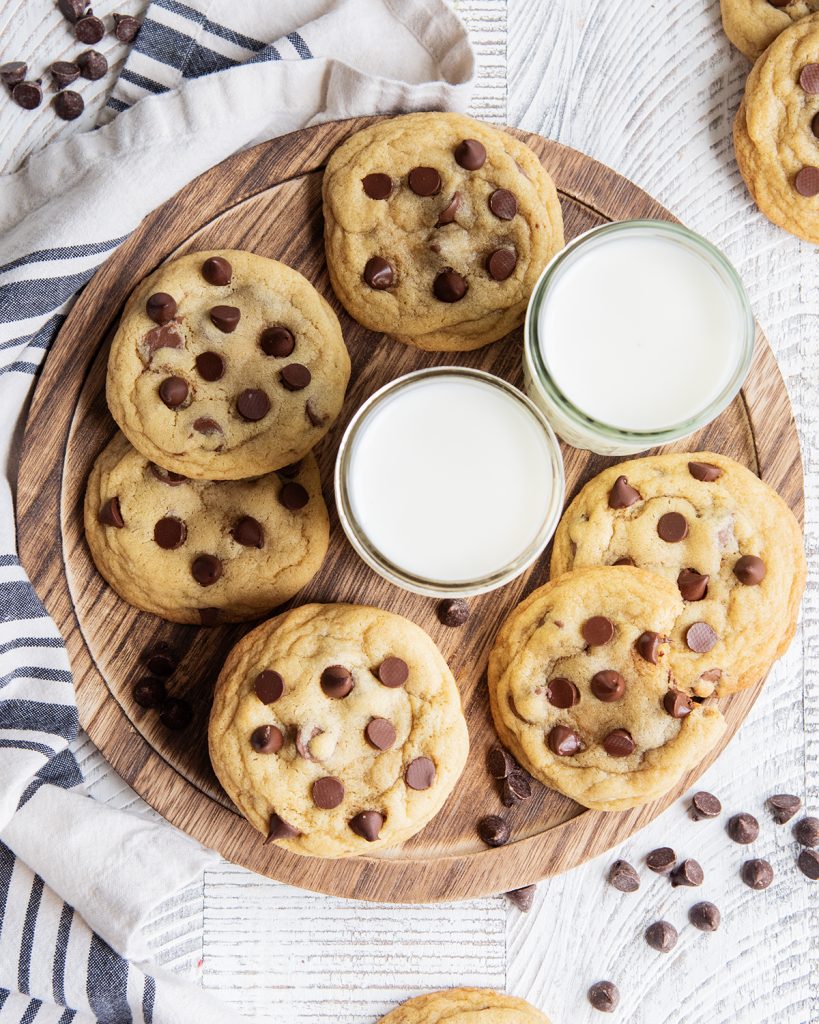
How to keep my chocolate chip cookies from going flat?
Remember this chocolate chip recipe (below) has already been worked to work in high elevation locations – but here are some tips to remember if you’re looking at other cookie recipes, and things we worked on with our cookies to make this recipe work.
- Increase the flour – these cookies have a little more flour in the dough than many standard recipes (Nestle Tollhouse, ahem) to give you a slightly thicker dough that offers more structure. Increase the flour by about 1/4 cup Remember to accurately measure your flour by weight, or with the spoon and level method for the best results, so you don’t end up with too much flour.
- Reduce the leavening – leavening agents can work a little differently at high altitudes. You can reduce them by about 25% in cookies if you live between 3,000 to 7,000 ft above sea level, or by 30% if you’re even higher. (I’m at about 4,850 ft)
- A little less sugar – Sugar doesn’t only sweeten our cookies, but it also contributes to their texture and structure. Not enough sugar and we will have a cookie that is dry, hard, and doesn’t spread. You can reduce the amount of sugar in your recipe by about 1-2 TBS per cup to help prevent spread, and still maintain chewy cookies.
- Chill the cookie dough – (this recipe is made without needing to chill the dough) but if your cookies are spreading, stick the dough in the fridge for at least 1 hour, or even better roll into balls first then stick the dough into the fridge to help solidify your butter, improve the structure of the cookie dough, and help the cookies hold their shape.
- Increase the oven temperature – Increasing the oven to a higher temperature by 25°F (about 15°C) can help the cookies raise, and set faster, to prevent them from spreading too much. (We still are sticking with 350 F for our recipe below, but FYI, if you’re adapting other recipes.)
- Don’t overbake the cookies – This is a common mistake, not just at high altitudes. Your cookies will keep baking even after you take them out of the oven, so you want them to just barely start to look set on top to keep those cookies nice and soft and chewy.
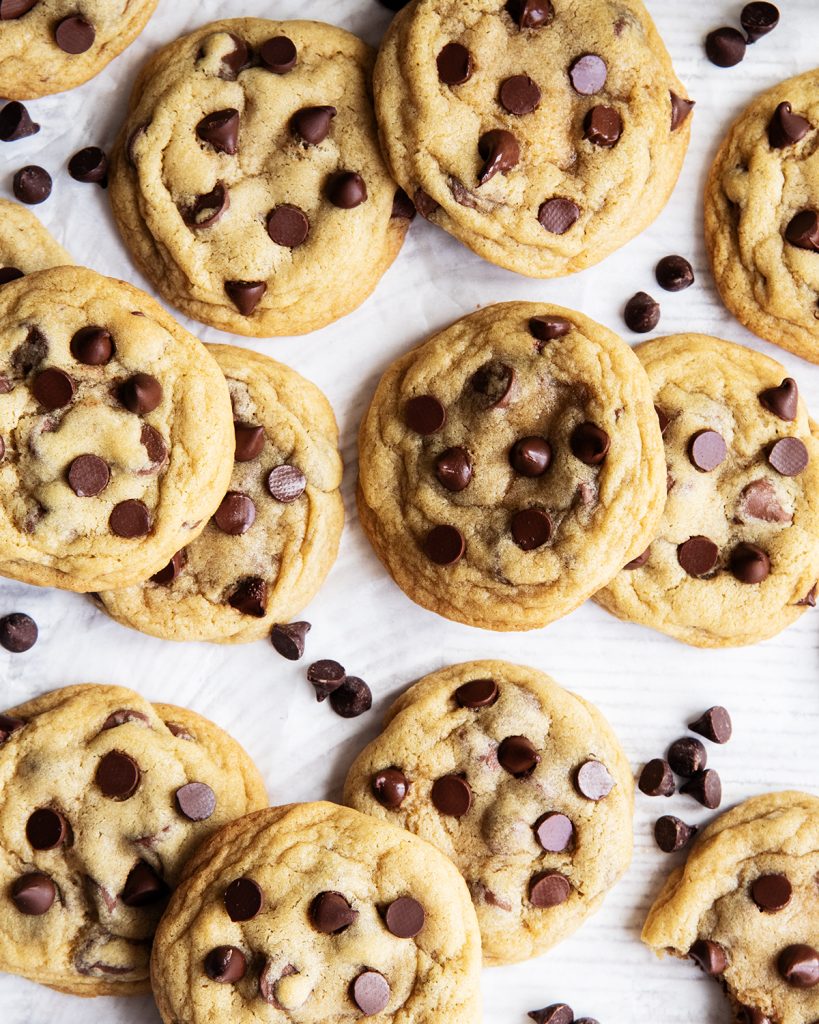
Ingredients needed to make high altitude chocolate chip cookie recipe
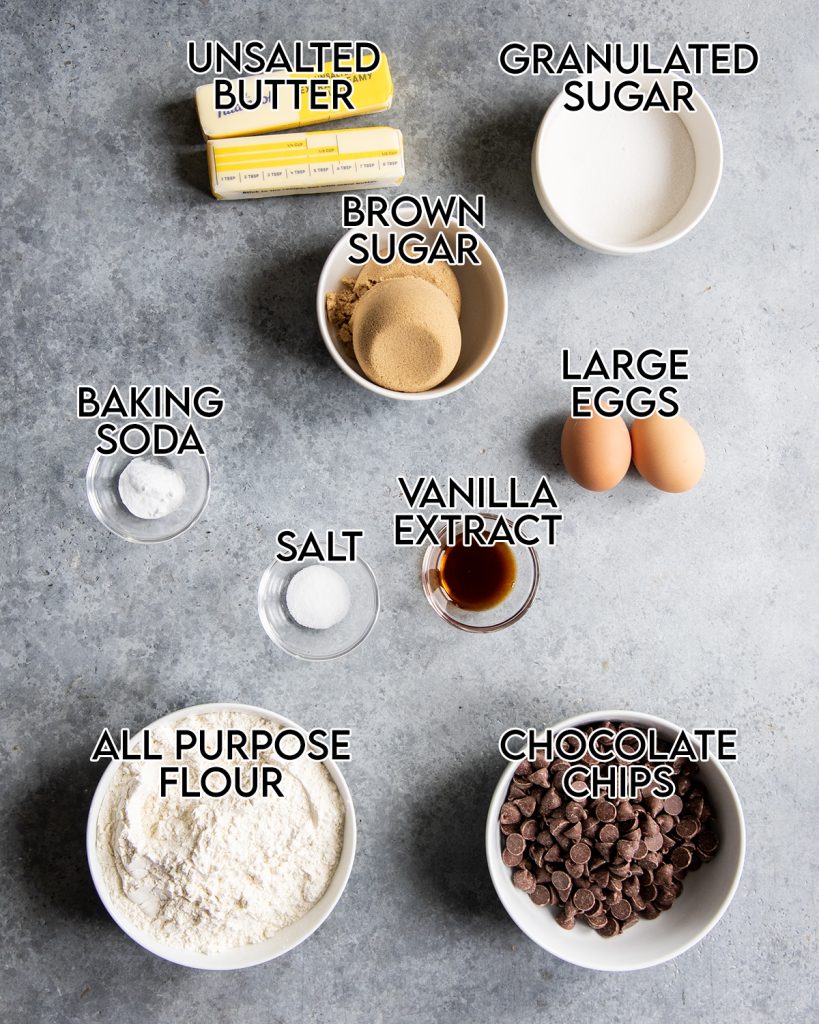
his is a quick overview of the ingredients you’ll need for this High Altitude Chocolate Chip Cookie Recipe. Specific measurements and full recipe instructions are in the printable recipe card below.
- unsalted butter – this adds a nice butter flavor and helps hold the cookie dough together
- brown sugar – adds a sweetness, and gives the cookies a nice chewy flavor
- granulated sugar – white sugar adds sweetness to the cookies
- eggs – binds the cookie ingredients together
- vanilla extract -adds a nice flavor
- all purpose flour – holds the structure of the cookies, spoon and level the flour into the measuring cup to prevent from getting too much.
- baking soda – leavens the cookies and makes them soft and chewy
- salt – balances and enhances the flavors
- chocolate chips – pick your favorite, dark chocolate chips, semi-sweet, milk chocolate chips, etc.
How to make high altitude recipe for chocolate chip cookies
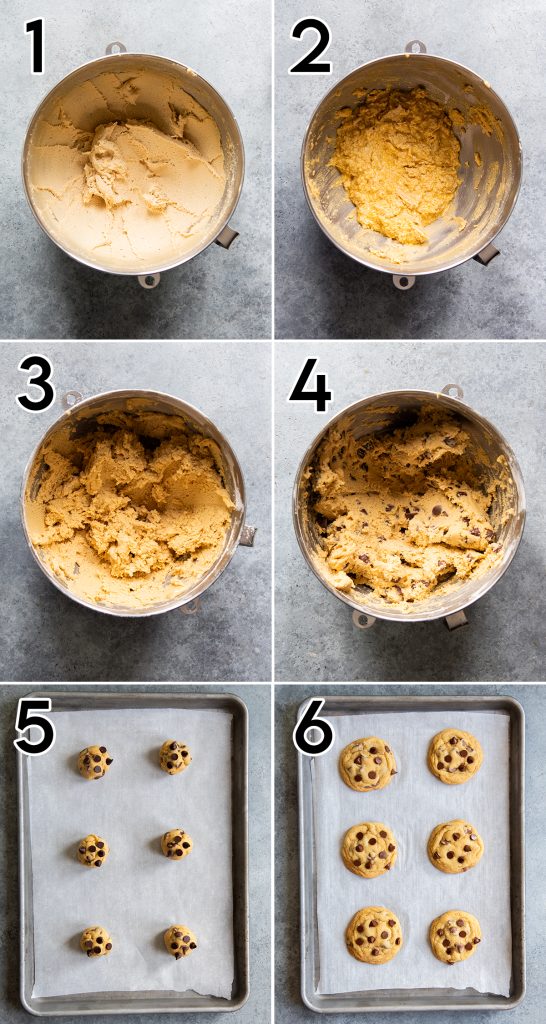
- Cream together the butter and sugars for about 2 to 3 minutes in a large bowl (using an electric mixer or the bowl of a stand mixer with a paddle attachment) until the mixture is light in color, and fluffy.
- Add in the eggs and vanilla extract and stir them into the mixture until just combined.
- Add in the dry ingredients; flour, baking soda, and salt and stir it together until you have a nice soft cookie dough.
- Add in the chocolate chips and fold them into the dough until they are evenly mixed.
- Scoop the cookie dough into 2 or 3 TBS portions (mine photographed are about 2.5 TBS) and roll them into balls. Place them about 3 inches apart on a lined cookie sheet.
- Bake the cookies on a baking sheet lined with parchment paper until they are just golden on the edges, and the top is barely set. (The cookies will keep cooking on the cookie sheet out of the oven). Let the cookies sit on the cookie sheet for 5 to 10 minutes, then carefully transfer them to a cooling rack to continue cooling, or enjoy immediately!
Tips and Tricks
- Do not over bake the cookies – Cook the cookies until the edges start to firm and turn golden colored. Remove the cookies from the oven and let them finish baking on the cookie sheet out of the oven. This will give you the perfect soft and chewy cookies.
- Experiment with different add ins – Try different flavors of chocolate chips, or other chips, like white baking chips, butterscotch chips, or mint chips. Add some nuts, dried fruit or coconut, etc. For a different flavor and texture. Keep the mix-ins to no more than 2 to 3 cups.
- Uniform Cookie Balls – Use a cookie scoop, or weigh your cookie dough balls to keep them nice and uniform in size, and make sure the cookies all bake evenly.
- Don’t use hot cookie sheets – Alternate between two cookie sheets, but only bake one at a time, adding the cookie dough balls to a room temperature cookie sheet to prevent the cookies from melting immediately, and spreading too much.
How to store chocolate chip cookies
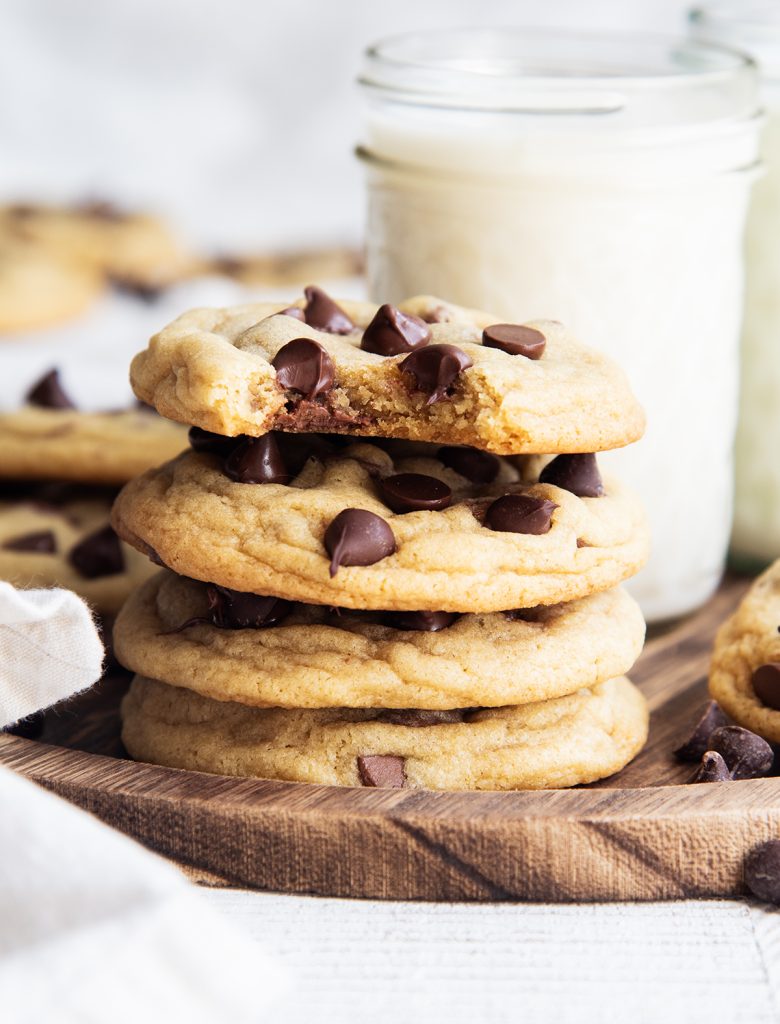
Let the cookies cool to room temperature, then transfer them to an airtight container on the counter for up to 4 or 5 days. You can also freeze the cookies by storing them in a freezer safe container for up to 3 months. Let them thaw at room temperature for a couple hours before enjoying again.
Can I use this recipe at sea level?
Yes, you can definitely use this recipe at sea level as well. You shouldn’t need to make adjustments. However, your cookies may spread a little less, so make sure to carefully measure the flour to not end up with even more extra. You can also cut out about 1/4 to 1/2 cup of flour if your dough feels extra dry.
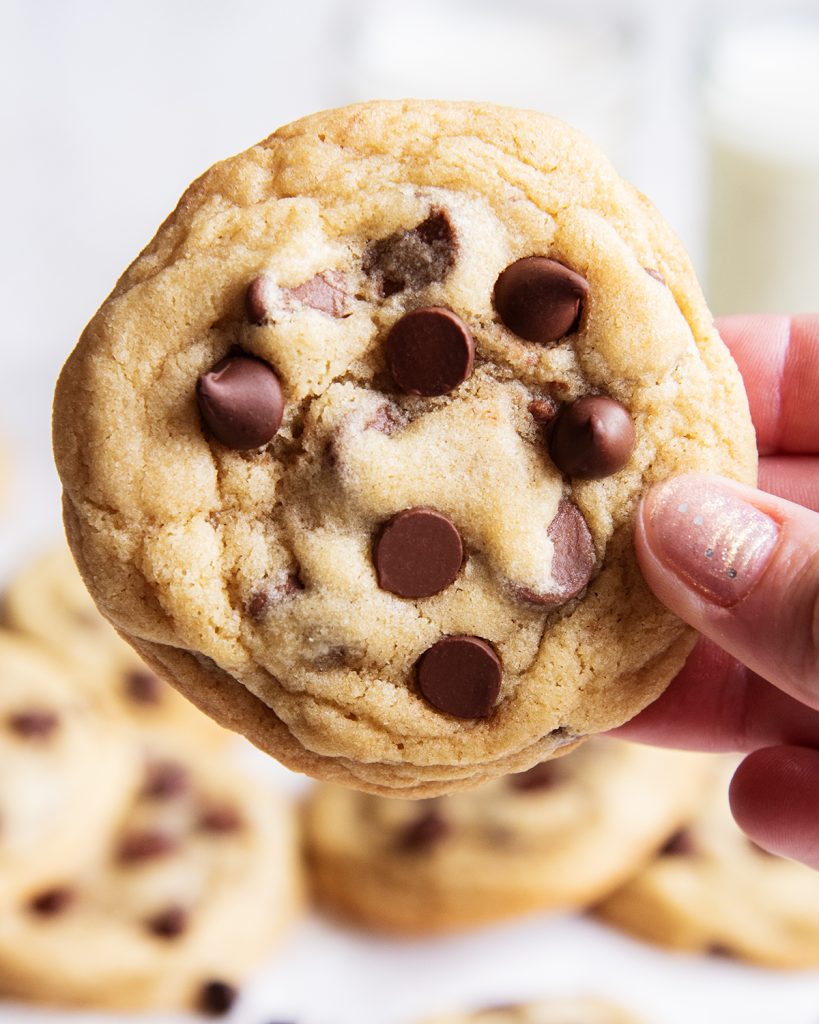
With this cookie recipe, our friends in high places can end up with delicious chewy chocolate chip cookies that they will be happy to share with their friends and family! This is the best high altitude chocolate chip cookies recipe! Next time you won’t need to go searching for your favorite cookie recipe – make these!
More High Altitude Cookie Recipes
- M&M Christmas Cookies
- Ritz Cracker Cookies
- Pecan Snowball Cookies
- Peppermint Brownie Cookies
- Hot Chocolate Cookies // LMLD
- Meringue Cookies Recipe // LMLD
- Mini Chocolate Chip Cookies // LMLD
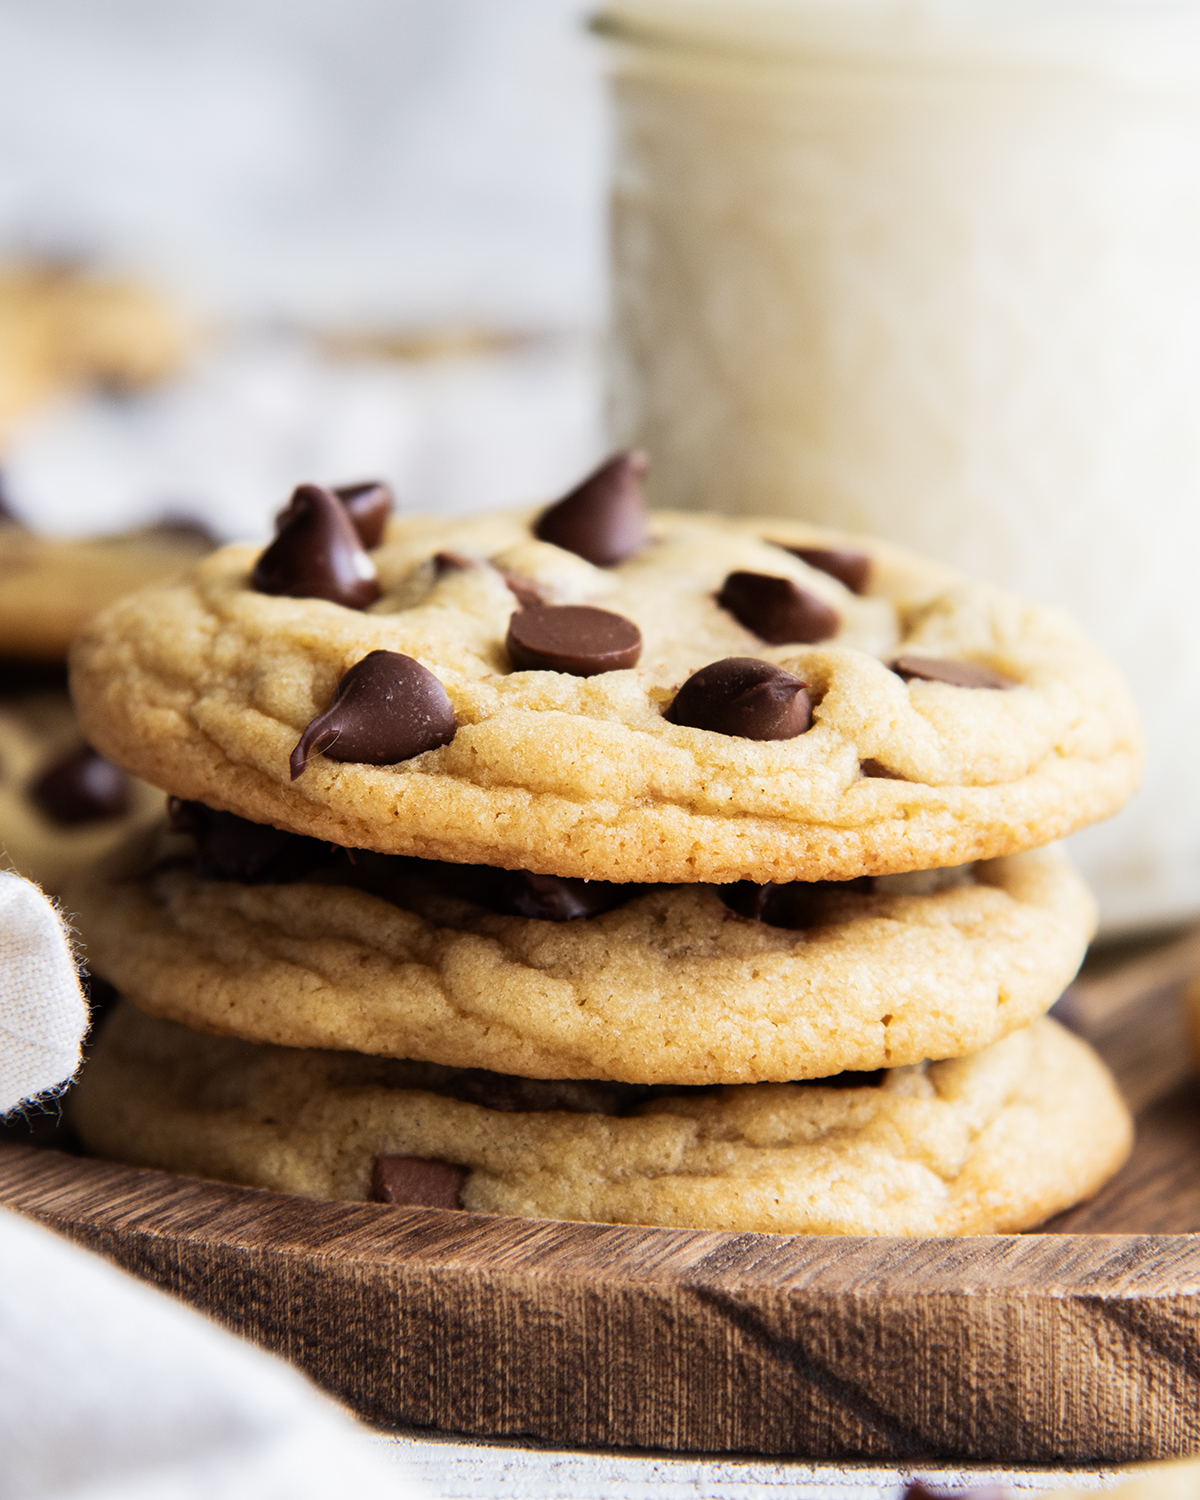
High Altitude Chocolate Chip Cookies
Ingredients
- 1 cup unsalted butter (2 sticks)
- 1 cup brown sugar
- 1/2 cup granulated sugar
- 2 tsp vanilla extract
- 2 large eggs
- 3 cups all purpose flour (spoon and level, if not weighing)
- 1 tsp baking soda
- 1 tsp salt (cut to 1/2 tsp if using salted butter)
- 2 1/4 cups chocolate chips (divided)
Instructions
- Preheat the oven to 350 degrees Fahrenheit. Line two baking sheets with parchment paper or a silicone liner.
- Cream together the butter and sugars in a large bowl for about 3 minutes.
- Add in the eggs and vanilla and stir into the creamed butter.
- Add the dry ingredients (flour, baking soda, and salt) to the wet ingredients and stir everything together till combined, and you have a nice soft cookie dough.
- Add in 2 cups of the chocolate chips and stir them until mixed evenly into the batter.
- Scoop the cookie dough into large 2.5 to 3 TBS sized cookie balls. Roll them into smooth balls.
- Place cookie balls onto the prepared cookie sheet about 2-3 inches apart to allow for spread.
- Top the cookies with a few extra chocolate chips if desired.
- Bake the cookies for 10 to 12 minutes, or until the edges just start to turn golden, and the tops are barely set.
- Remove the pan from the oven. Leave the cookies on the baking sheet for 5 to 10 minutes to cool, as they keep baking.
- Transfer the cookies to a cooling rack to cool completely, or let them cool another 5 to 10 minutes, then enjoy.
Notes
- Do not over bake the cookies – Cook the cookies until the edges start to firm and turn golden colored. Remove the cookies from the oven and let them finish baking on the cookie sheet out of the oven. This will give you the perfect soft and chewy cookies.
- Experiment with different add ins – Try different flavors of chocolate chips, or other chips, like white baking chips, butterscotch chips, or mint chips. Add some nuts, dried fruit or coconut, etc. For a different flavor and texture. Keep the mix-ins to no more than 2 to 3 cups.
- Uniform Cookie Balls – Use a cookie scoop, or weigh your cookie dough balls to keep them nice and uniform in size, and make sure the cookies all bake evenly.
- Don’t use hot cookie sheets – Alternate between two cookie sheets, but only bake one at a time, adding the cookie dough balls to a room temperature cookie sheet to prevent the cookies from melting immediately, and spreading too much.

Thank you. I live at high altitude so I will try these. It would be very helpful if you would give weight measurements in addition to volume.
If you click “metric” under the ingredient list it will have them all in weights. Hope that helps.