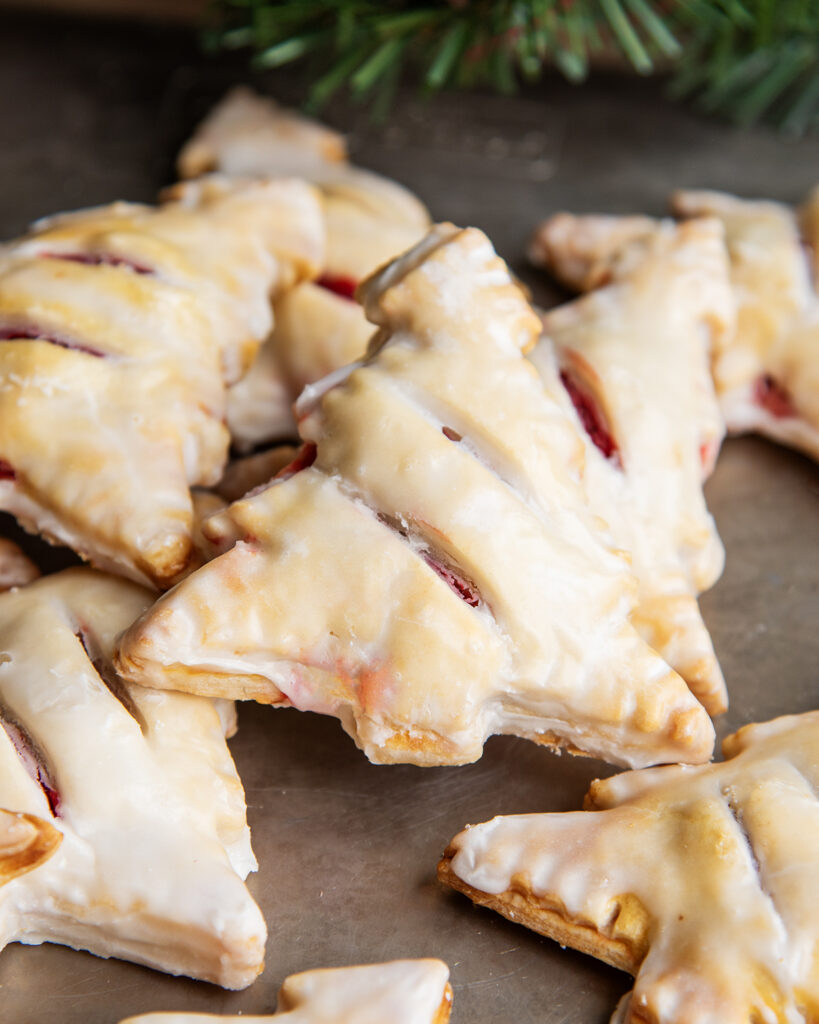
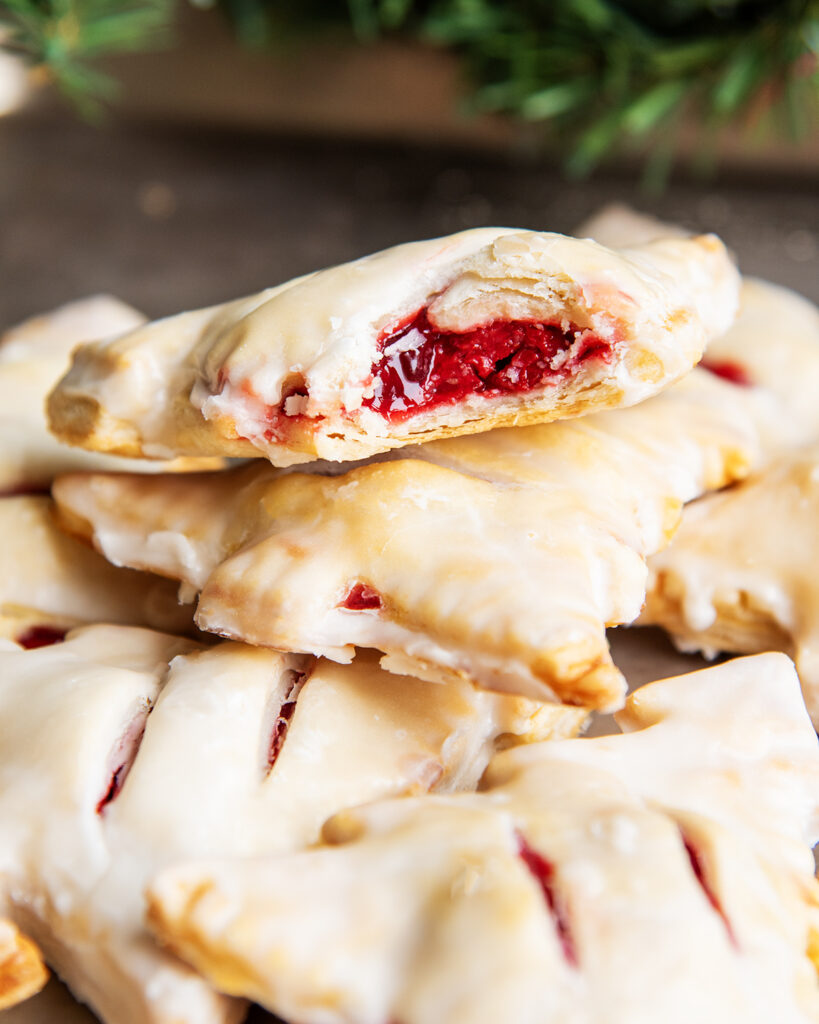
These Cherry Hand Pies are a must make for an easy, festive treat for the holiday season! I shaped mine like Christmas Trees, to make them extra festive, and they’re so easy to make with only 6 ingredients!

I love hand pies. They are just so cute, and so much easier to make! These Christmas Tree Hand Pies are such a fun and easy, and festive holiday treat that I love to make for holiday parties, or to give out and share with friends!
Why this recipe is the best
- So Easy: Only 6 ingredients needed, thanks to a store bought pie crust, and canned cherry pie filling. You can make these in less than 1 hour!
- Handheld and Mess Free: No need for plates, or forks, just grab and dig in!
- Great for Gifting: These little cuties would be such a thoughtful homemade gift. Wrap each one in parchment and pack a few in a cute box, and tie with a bow. Or wrap each one in a little bakery bag with a window front, to show off your cute work!
- Customizable: Skip the Icing Glaze and add coarse sugar, or try a different fruit, or pie filling instead! Or try a different Christmas shape, like a snowman, or snowflake, or even skip those and make hearts, or plain old circles.
Ingredients Needed
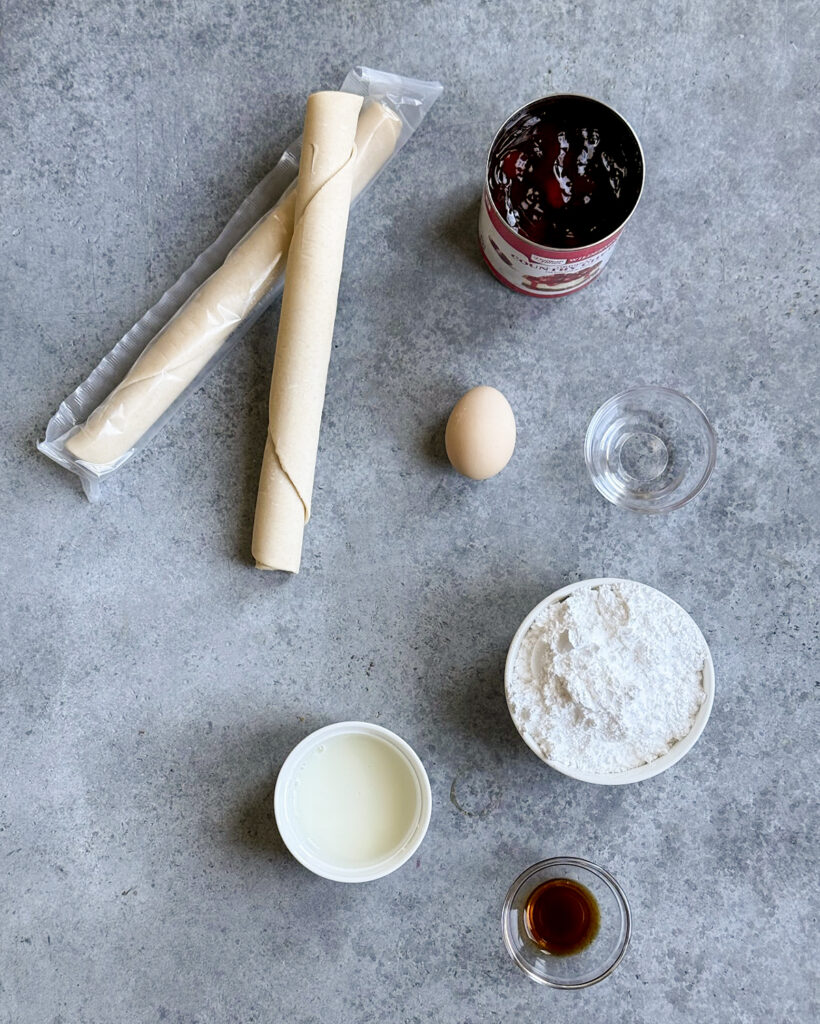
This is a quick overview of the ingredients you’ll need for this Cherry Hand Pie recipe. Specific measurements and full recipe instructions are in the printable recipe card below.
- Pie Crust – You can use your favorite homemade pie crust, but for ease, I like using store bought.
- Cherry Pie Filling – Grab your favorite canned pie filling from the store, or make homemade to enjoy that fresh flavor.
- Egg + Water – Whisked together to make an egg wash, that gets brushed on the pies to help them bake up nice and golden.
- Powdered Sugar – I love the extra sweetness a glaze adds, whisked with a little milk.
- Milk – Any dairy, or non dairy milk will work.
- Vanilla Extract – Adds a little flavor to the glaze, instead of vanilla you could also try almond extract.
How to make Christmas Tree Hand Pies
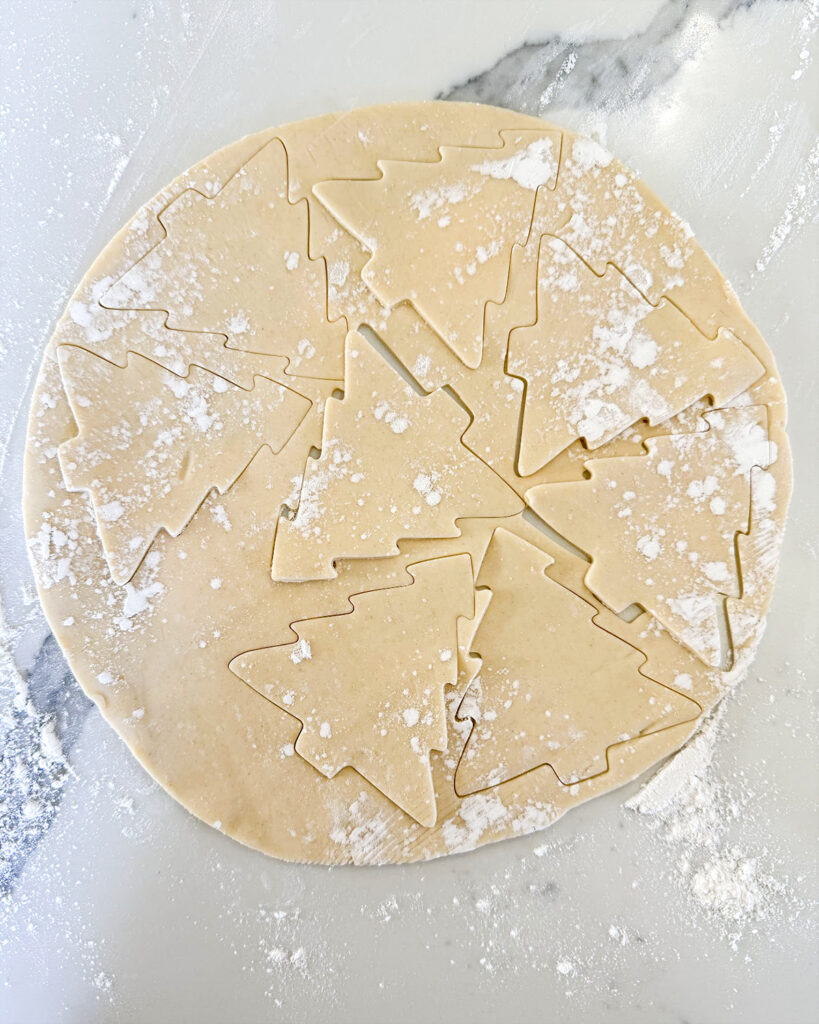
Step 1: Cut out the Tree Shapes. Roll out one thawed pie crust at a time on a lightly floured surface. Using a 3-4 inch Christmas Tree cookie cutter cut pie crusts out. Repeat with remaining pie crust.
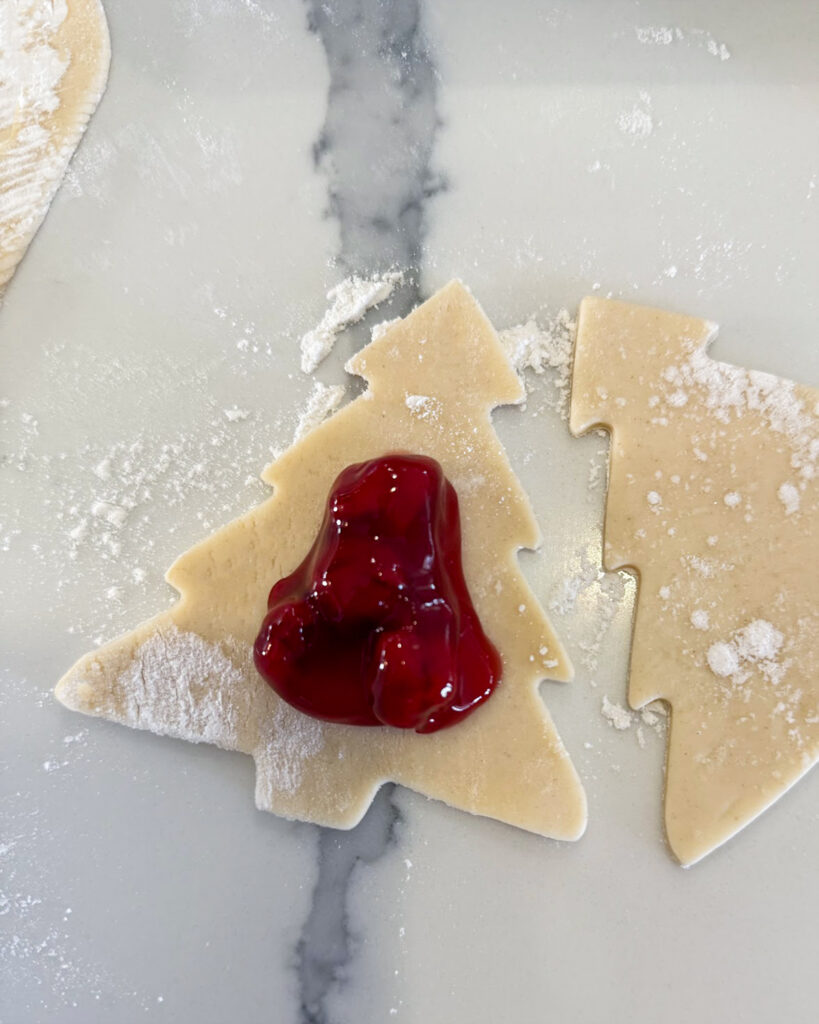
Step 2: Add the Pie Filling. Spoon 1 1/2 TBS of the cherry pie filling into the center of one Christmas Tree. Place another Christmas tree over the top of the pie, pressing the edges together. Use a little water to seal if needed. Using the ends (tines) of a fork crimp the edges together to seal.
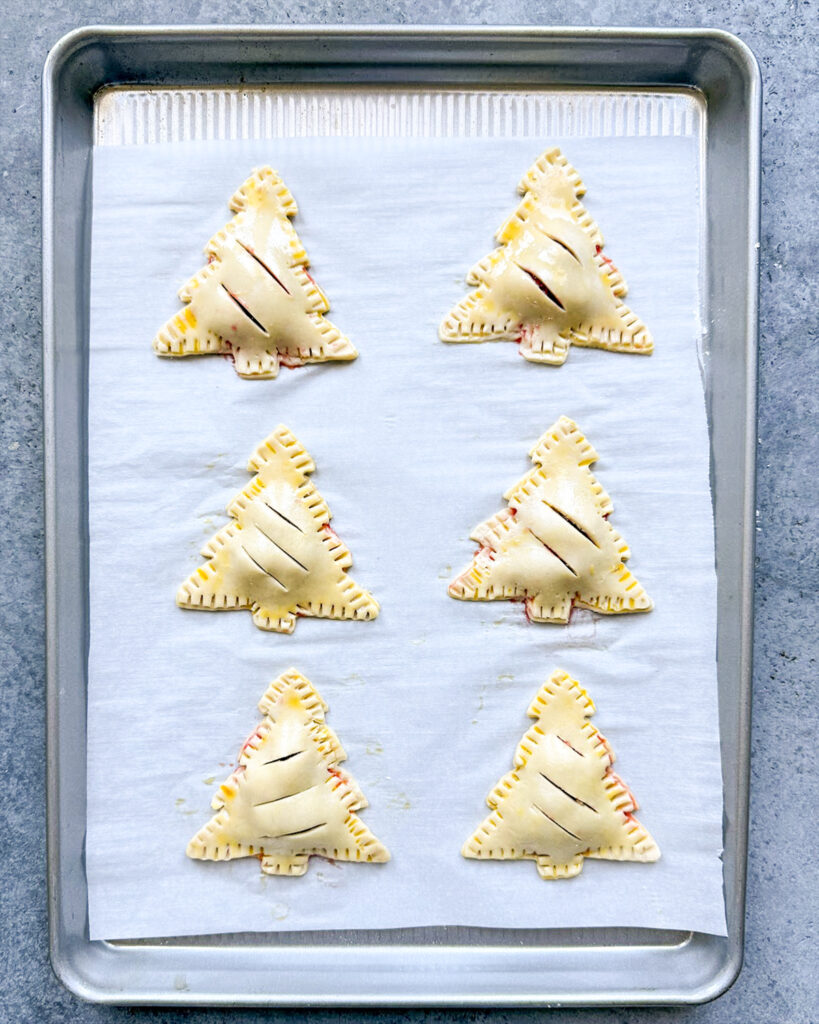
Step 4: Brush with Egg Wash. Beat together 1 egg and 1 TBS of water in a small bowl. Using a silicone brush, brush the top of the pies with the egg wash. This will help the pies turn extra golden when baking. Cut 2 to 3 vents into the top of each pie.
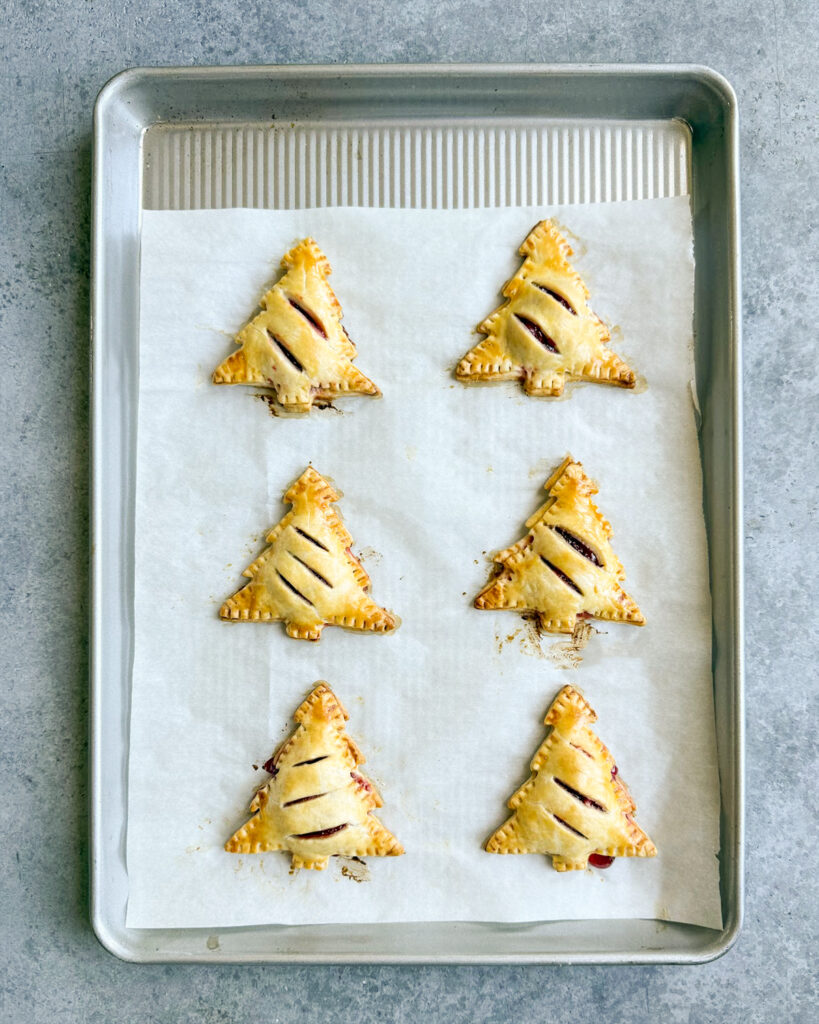
Step 5: Bake the Pies. Place the pies onto a parchment paper lined baking sheet, a couple inches apart. Bake until the pie crust is golden and the filling inside is bubbly. Remove from the oven and let them cool about 10-20 minutes.
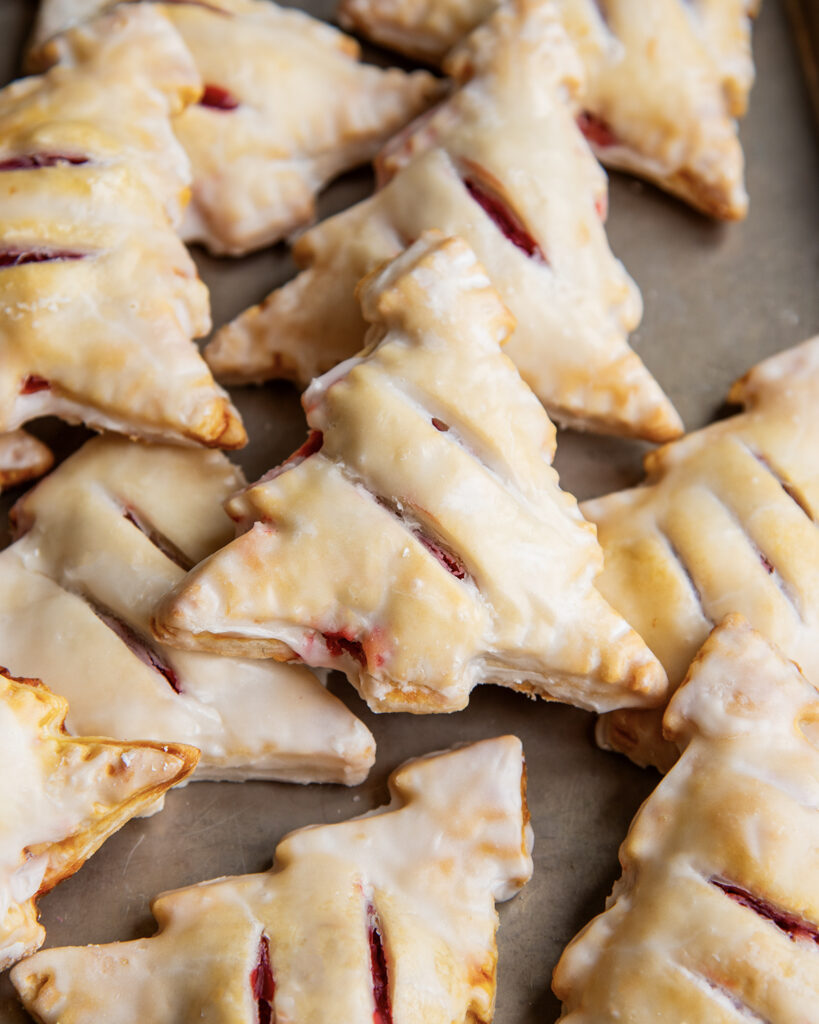
Step 6: Add the Icing. Whisk together the powdered sugar, milk, and vanilla extract in a small bowl until smooth. Carefully dip the top of each pie into the icing, or drizzle with a spoon. Place back on the parchment to let the pies sit for the glaze to set. Enjoy!
Tips and Tricks
- Don’t Overfill – I know we want lots of filling for a juicy pie, but if you over fill the pie may leak while baking and they won’t look as nice in the end.
- Any Shapes – You can make these pies in any shape you want. Cut the dough into snowmen, stars, snow flakes, gingerbread men, hearts, etc.
- Double the Recipe – As is the recipe makes about 8-10 pies. If you’d like more for gifting, or serving at a party you can grab 2 boxes of pie filling, or even 3 to make more of these cutie pies in a jiffy.
Storage Instructions
The hand pies can be stored in a box at room temperature for up to 2 or 3 days.
If you want to freeze, I recommend freezing the unbaked pies on a lined baking sheet until solid, for about 1 to 2 hours. Then transfer them to a freezer safe container for up to 2 months. Bake the pies directly from frozen by adding a couple extra minutes to the baking time.
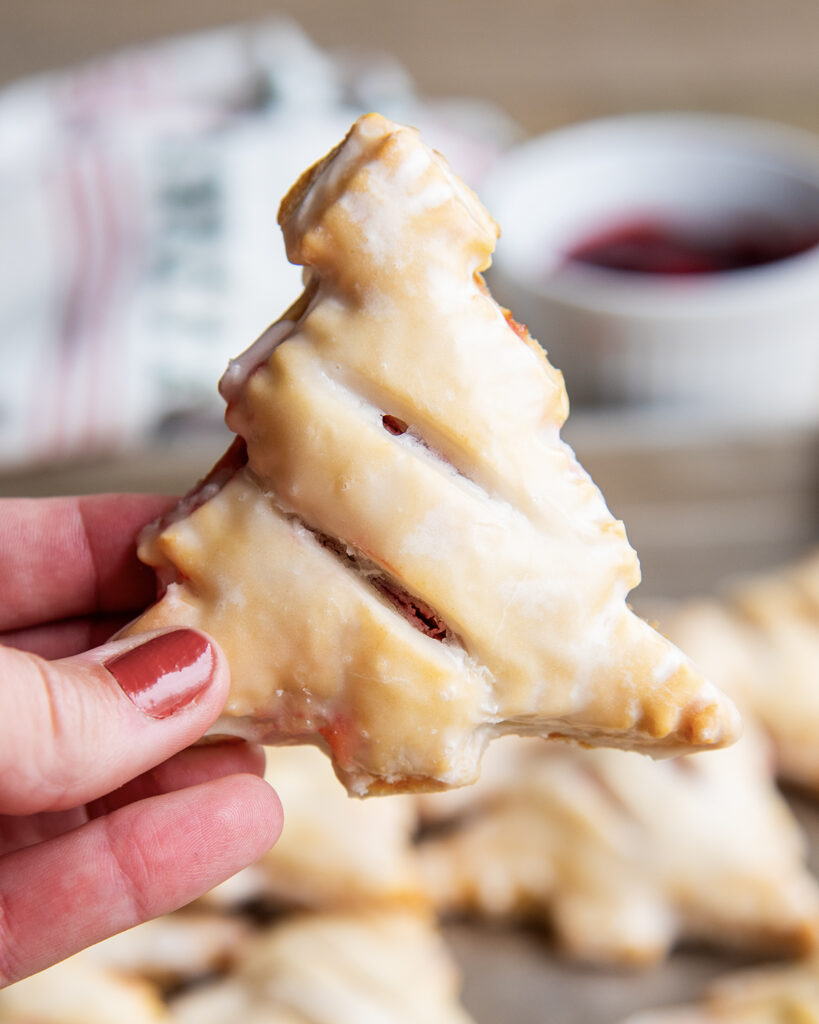
These cute Christmas Tree Cherry Hand Pies are so great when you need an easy and delicious dessert! They’re perfect with a cup of cocoa, or a scoop of ice cream and such a great way to share holiday cheer!
More Cherry Desserts
If you try these Cherry Hand Pies, please leave a 🌟 rating and let me know how it went in the comments below. I love hearing from you!
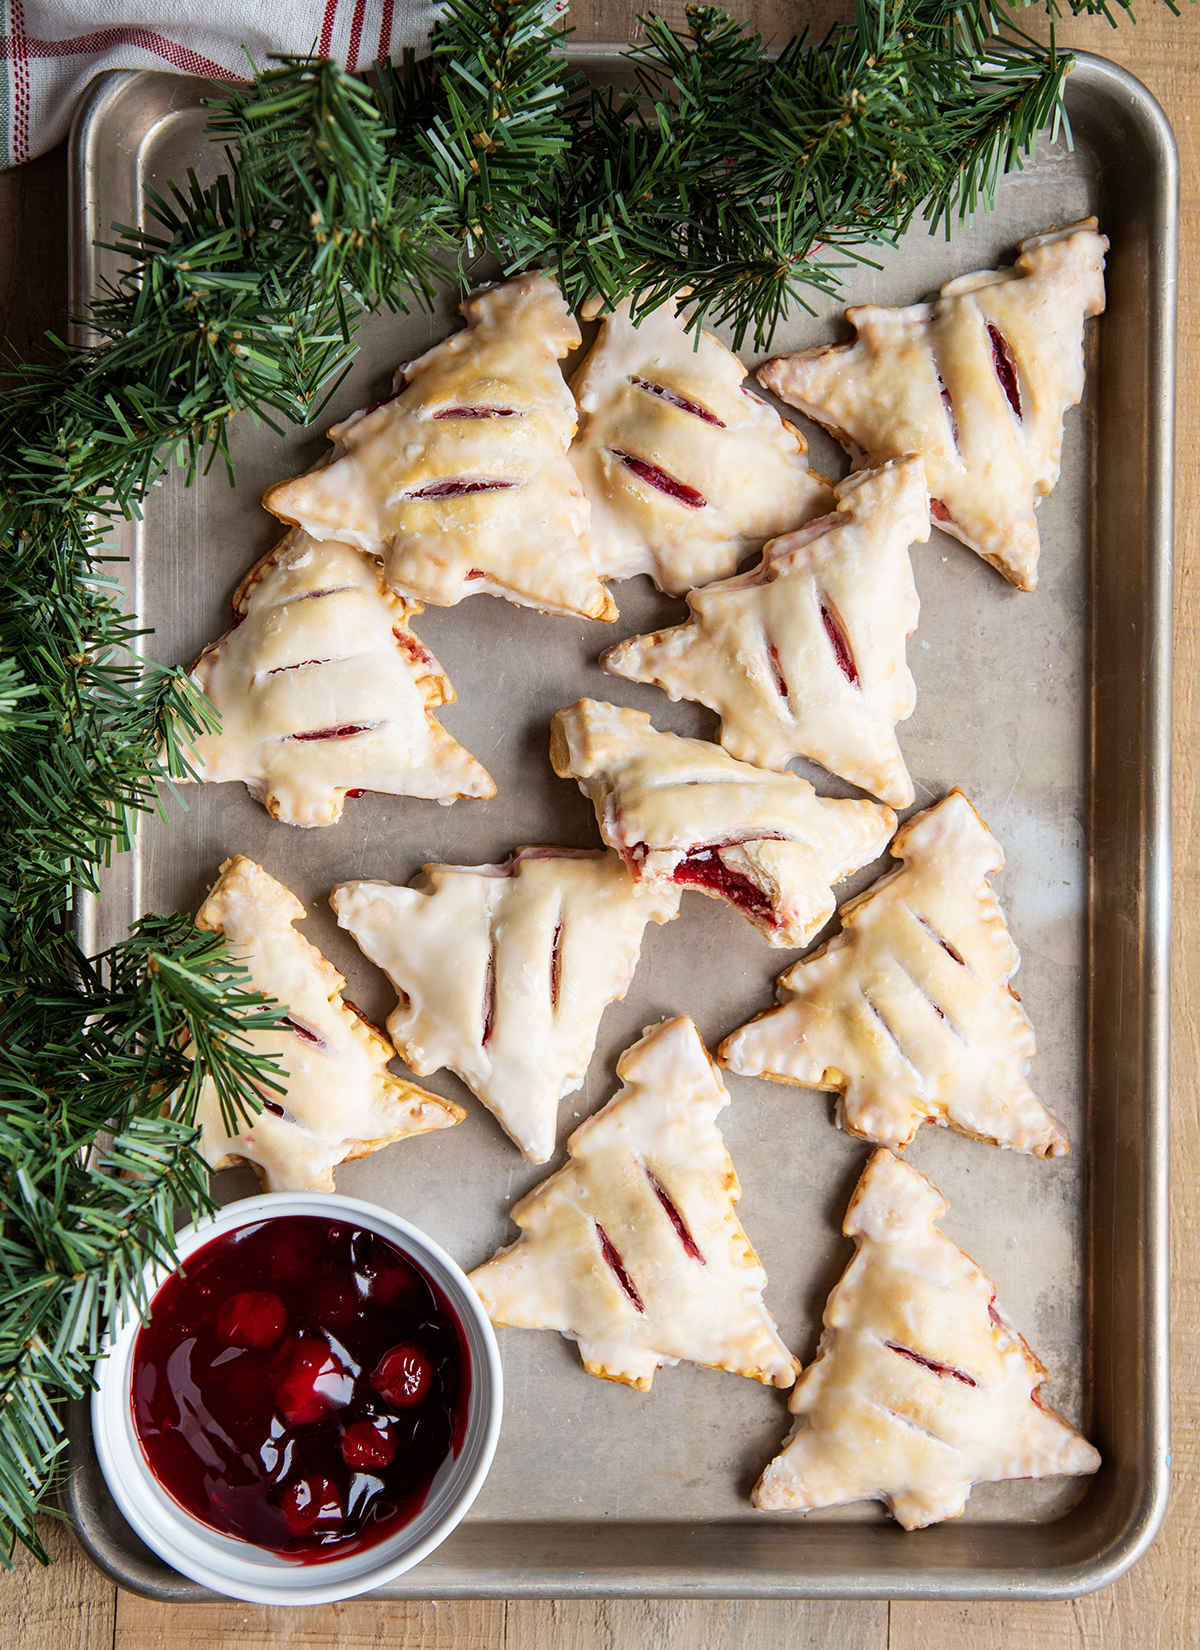
Christmas Tree Cherry Hand Pies
Ingredients
For the Cherry Hand Pies:
- 1 box Refrigerated Pie Crust
- 10 oz Cherry Pie Filling (1/2 of a 21 oz can)
- 1 large egg
- 1 TBS water
For the Vanilla Glaze:
- 2 cups powdered sugar
- 3-4 TBS milk
- 1/4 tsp vanilla extract
Instructions
For the Cherry Hand Pies:
- Preheat the oven to 400 degrees Fahrenheit. Line a large cookie sheet with parchment paper. Thaw a box of refrigerated pie crust, according to the package directions.
- Lightly dust a counter top with flour. Roll out one of the thawed pie crusts to be about 1/4 inch thick. 1 box Refrigerated Pie Crust
- Cut the pie crust into 3-4 inch Christmas Trees with a cookie cutter.
- Add 1 1/2 TBS of cherry pie filling into the center of one Christmas Tree. 10 oz Cherry Pie Filling
- Lay another Christmas tree on top, lining up the edges and corners.
- Press the edges of the pie together with a fork, crimping the pieces together to seal.
- Whisk together the egg and water in a small bowl. 1 large egg, 1 TBS water
- Brush the top of the pie crust lightly with the egg wash.
- Cut two to three slits in the top of the crust to allow the pie to steam.
- Place the hand pies onto the prepared cookie sheet, a couple inches apart. Repeat with additional pies.
- Bake the pies for 20 to 24 minutes, or until the tops are golden brown, and the pie filling in the middle is bubbly.
- Remove from the oven and let the pies cool on the cookie sheet for about 5 minutes, then transfer to a cooling rack to cool for another 10-15 minutes.
For the Vanilla Glaze:
- Whisk together the powdered sugar, milk, and vanilla extract in a medium bowl. 2 cups powdered sugar, 3-4 TBS milk , 1/4 tsp vanilla extract
- Dip the top of each pie into the glaze, or drizzle the glaze on top with a spoon.
- Place the pies back onto the cookie sheet and let the pies sit until the glaze is set.
Notes
- Don’t Overfill – I know we want lots of filling for a juicy pie, but if you over fill the pie may leak while baking and they won’t look as nice in the end.
- Any Shapes – You can make these pies in any shape you want. Cut the dough into snowmen, stars, snow flakes, gingerbread men, hearts, etc.
- Double the Recipe – As is the recipe makes about 8-10 pies. If you’d like more for gifting, or serving at a party you can grab 2 boxes of pie filling, or even 3 to make more of these cutie pies in a jiffy.
- Storage Instructions – The hand pies can be stored in a box at room temperature for up to 2 or 3 days. If you want to freeze, I recommend freezing the unbaked pies on a lined baking sheet until solid, for about 1 to 2 hours. Then transfer them to a freezer safe container for up to 2 months. Bake the pies directly from frozen by adding a couple extra minutes to the baking time.

Leave a Reply